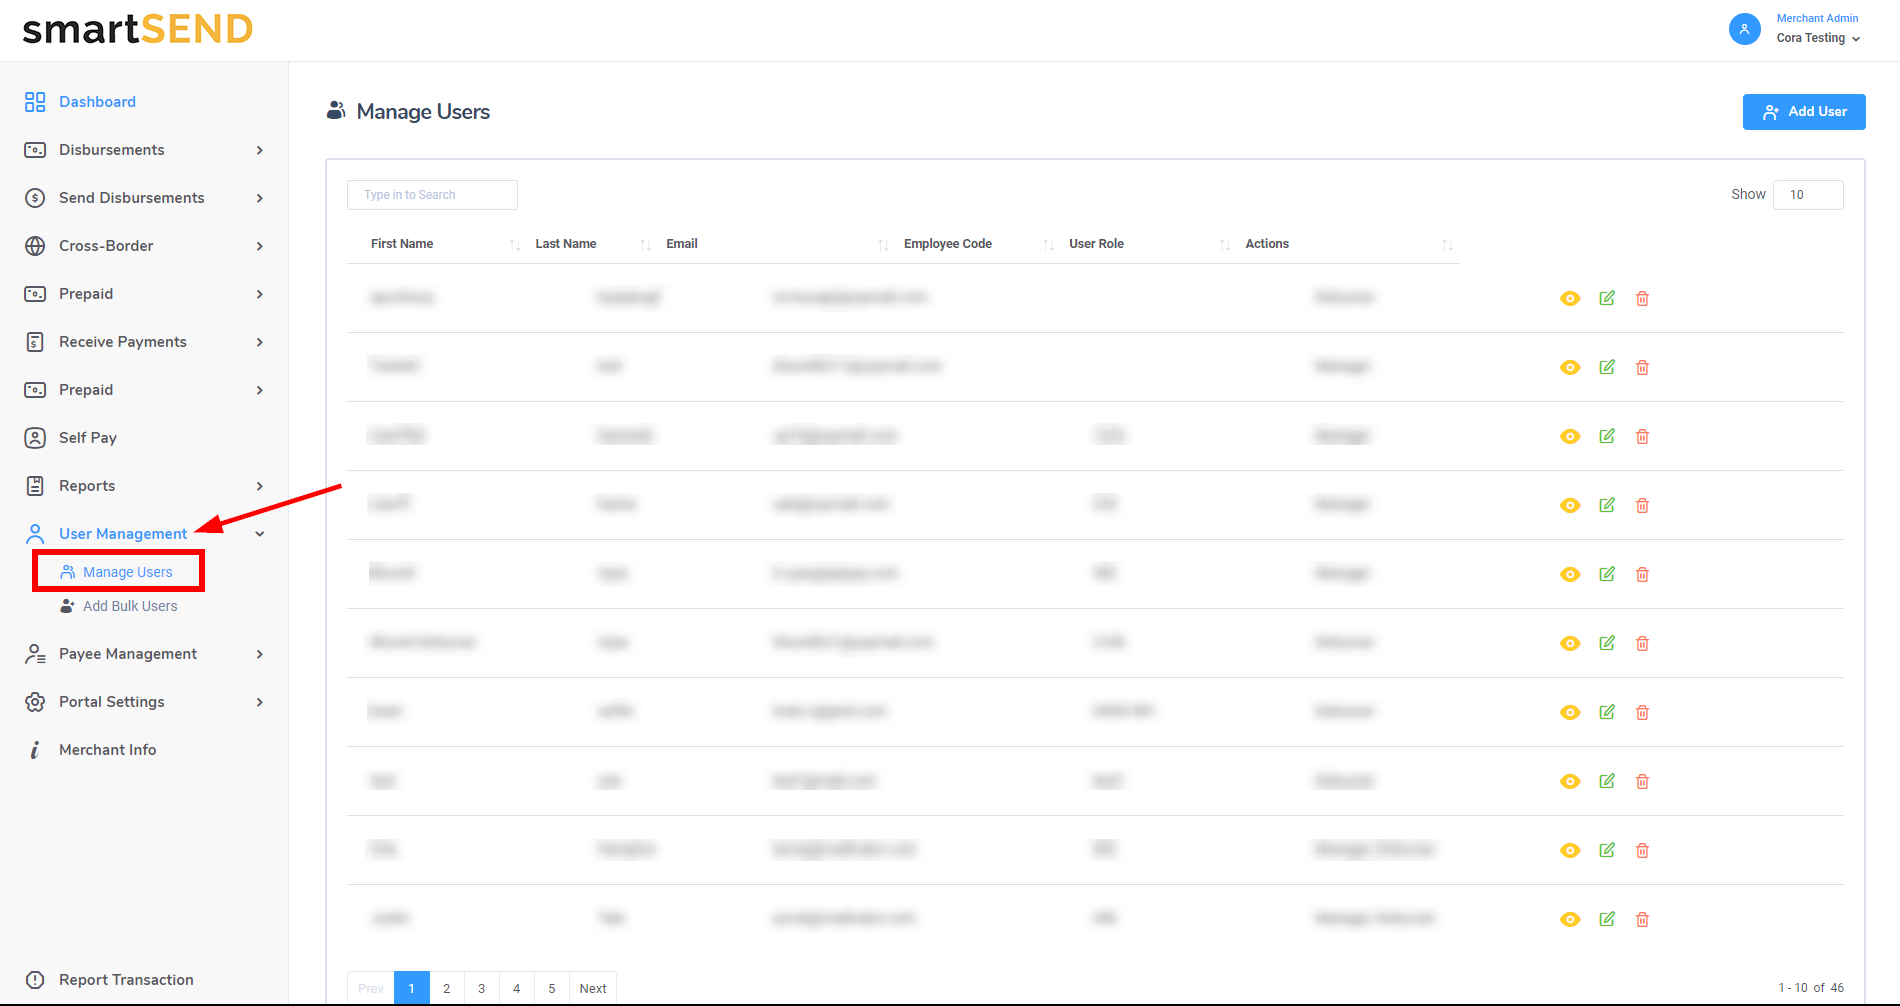
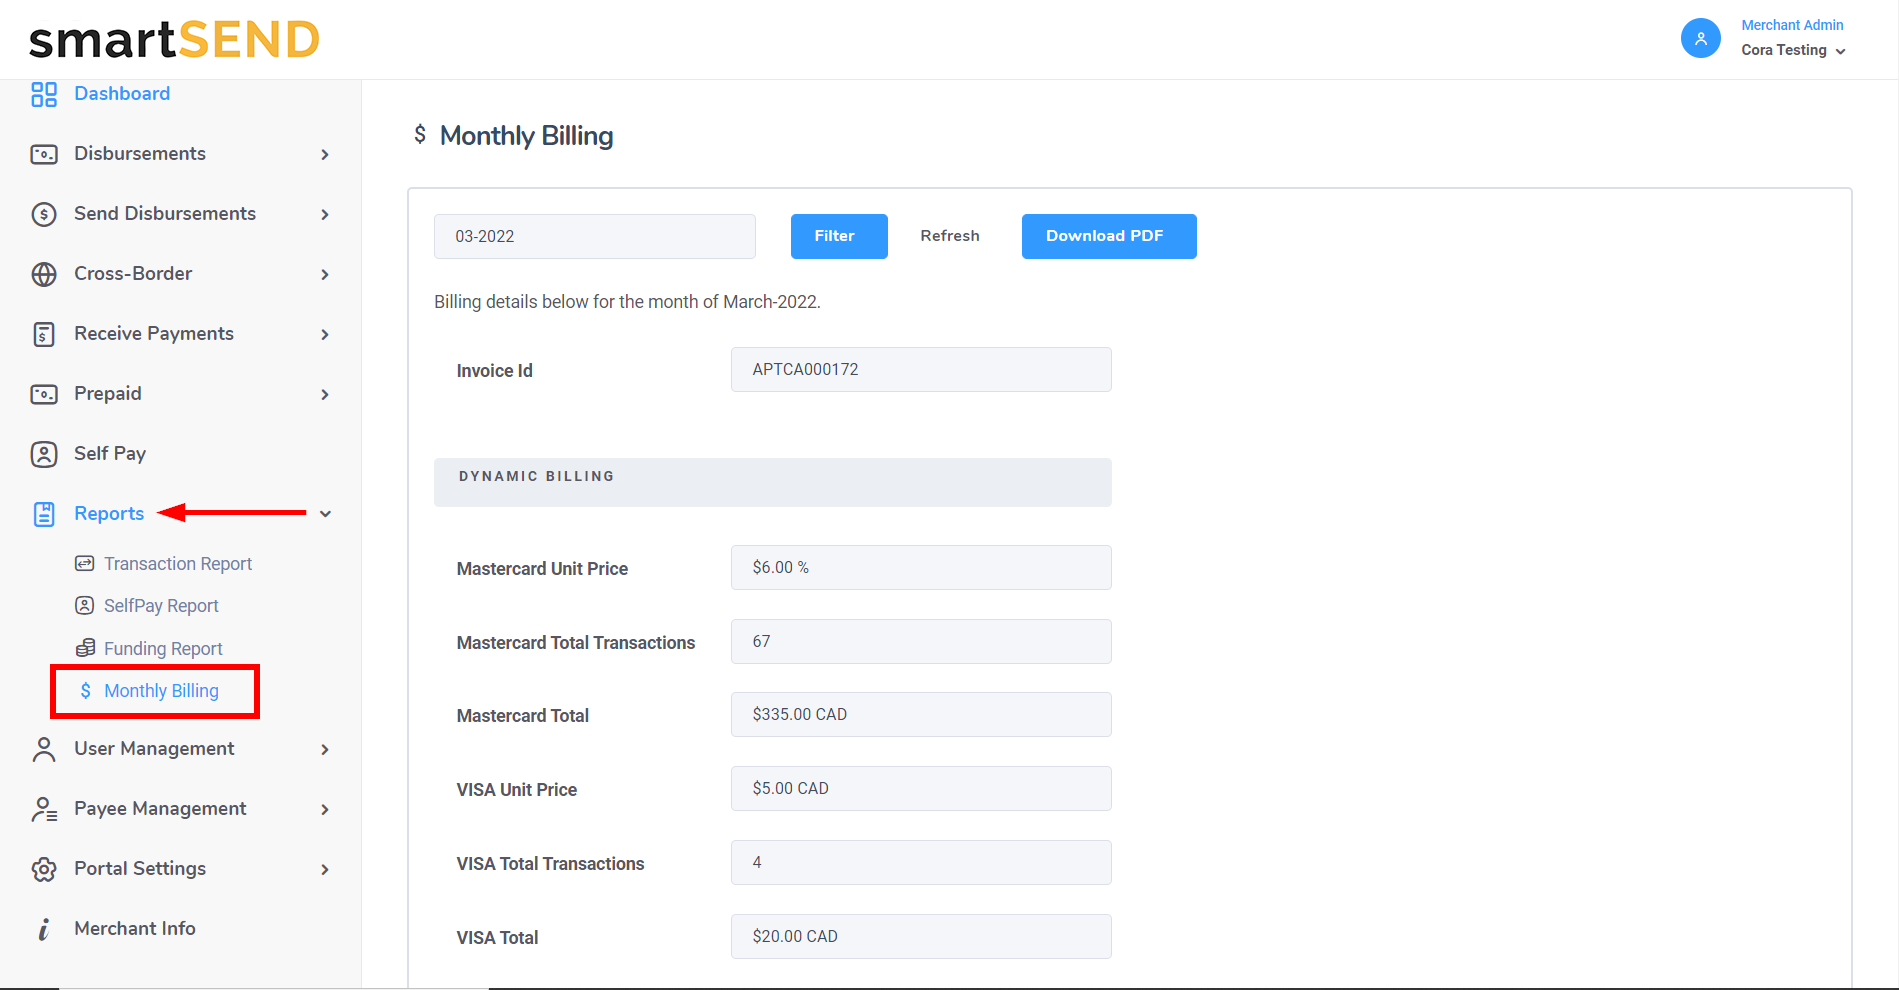
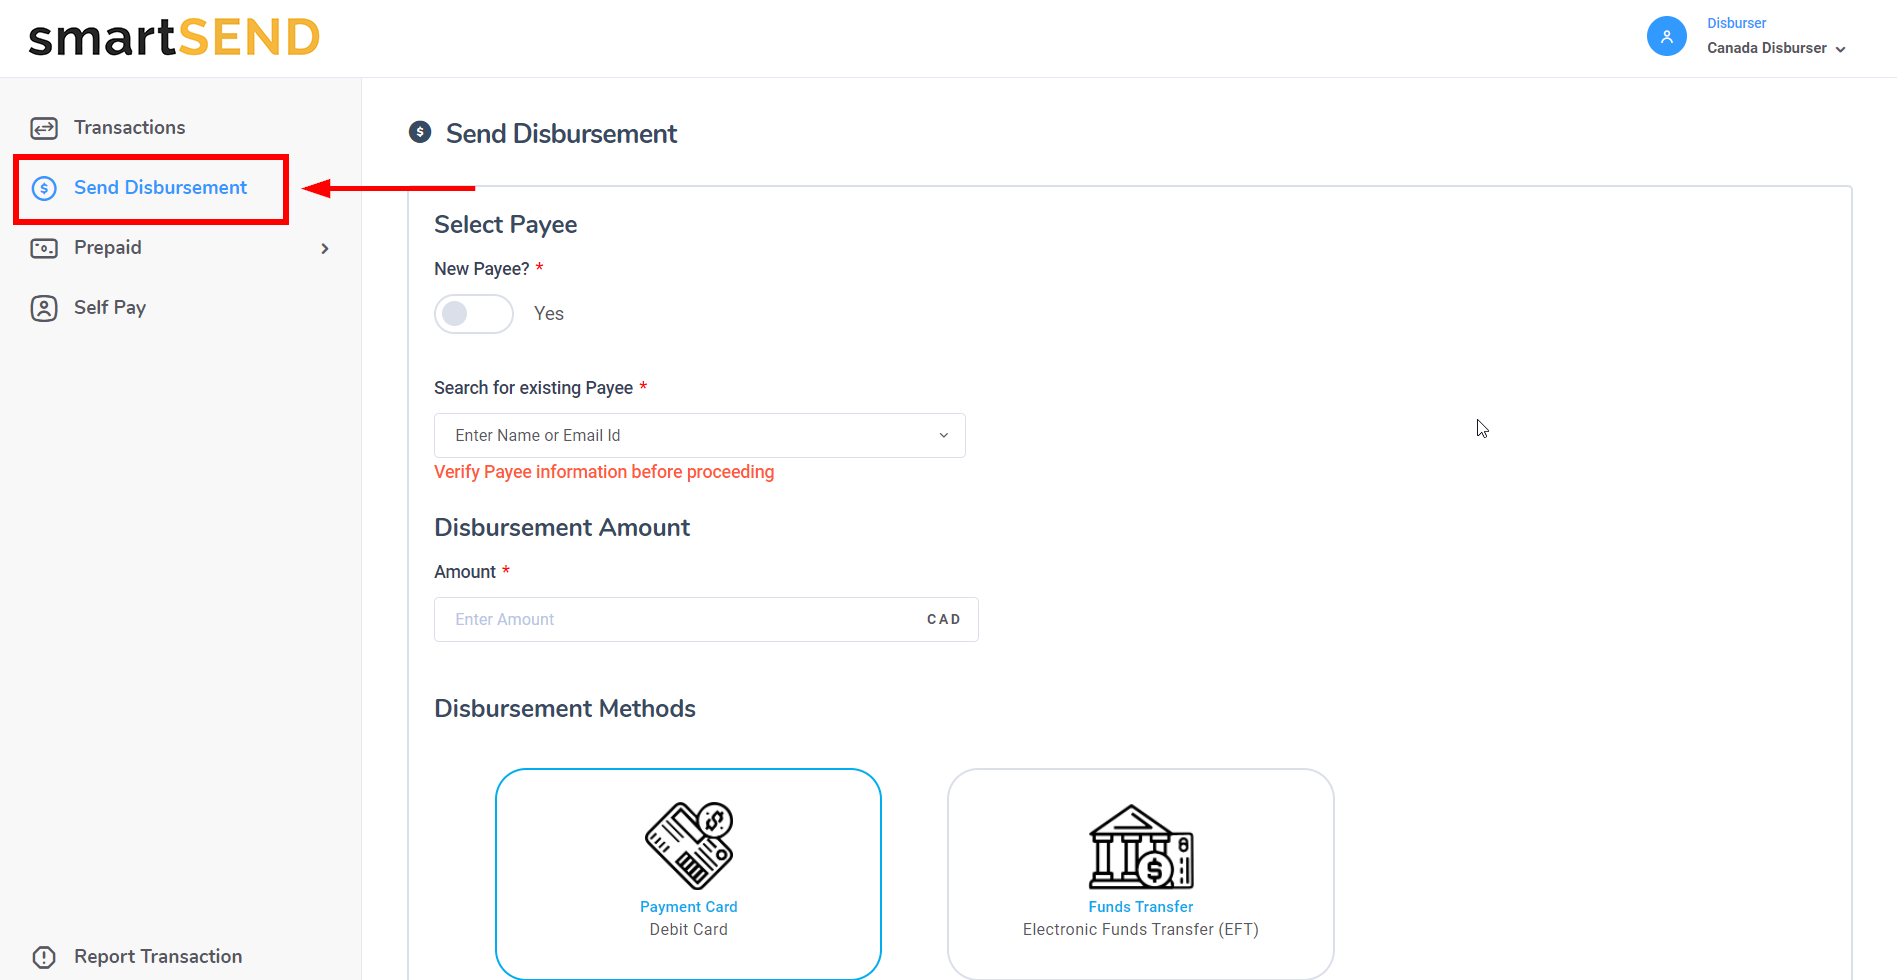
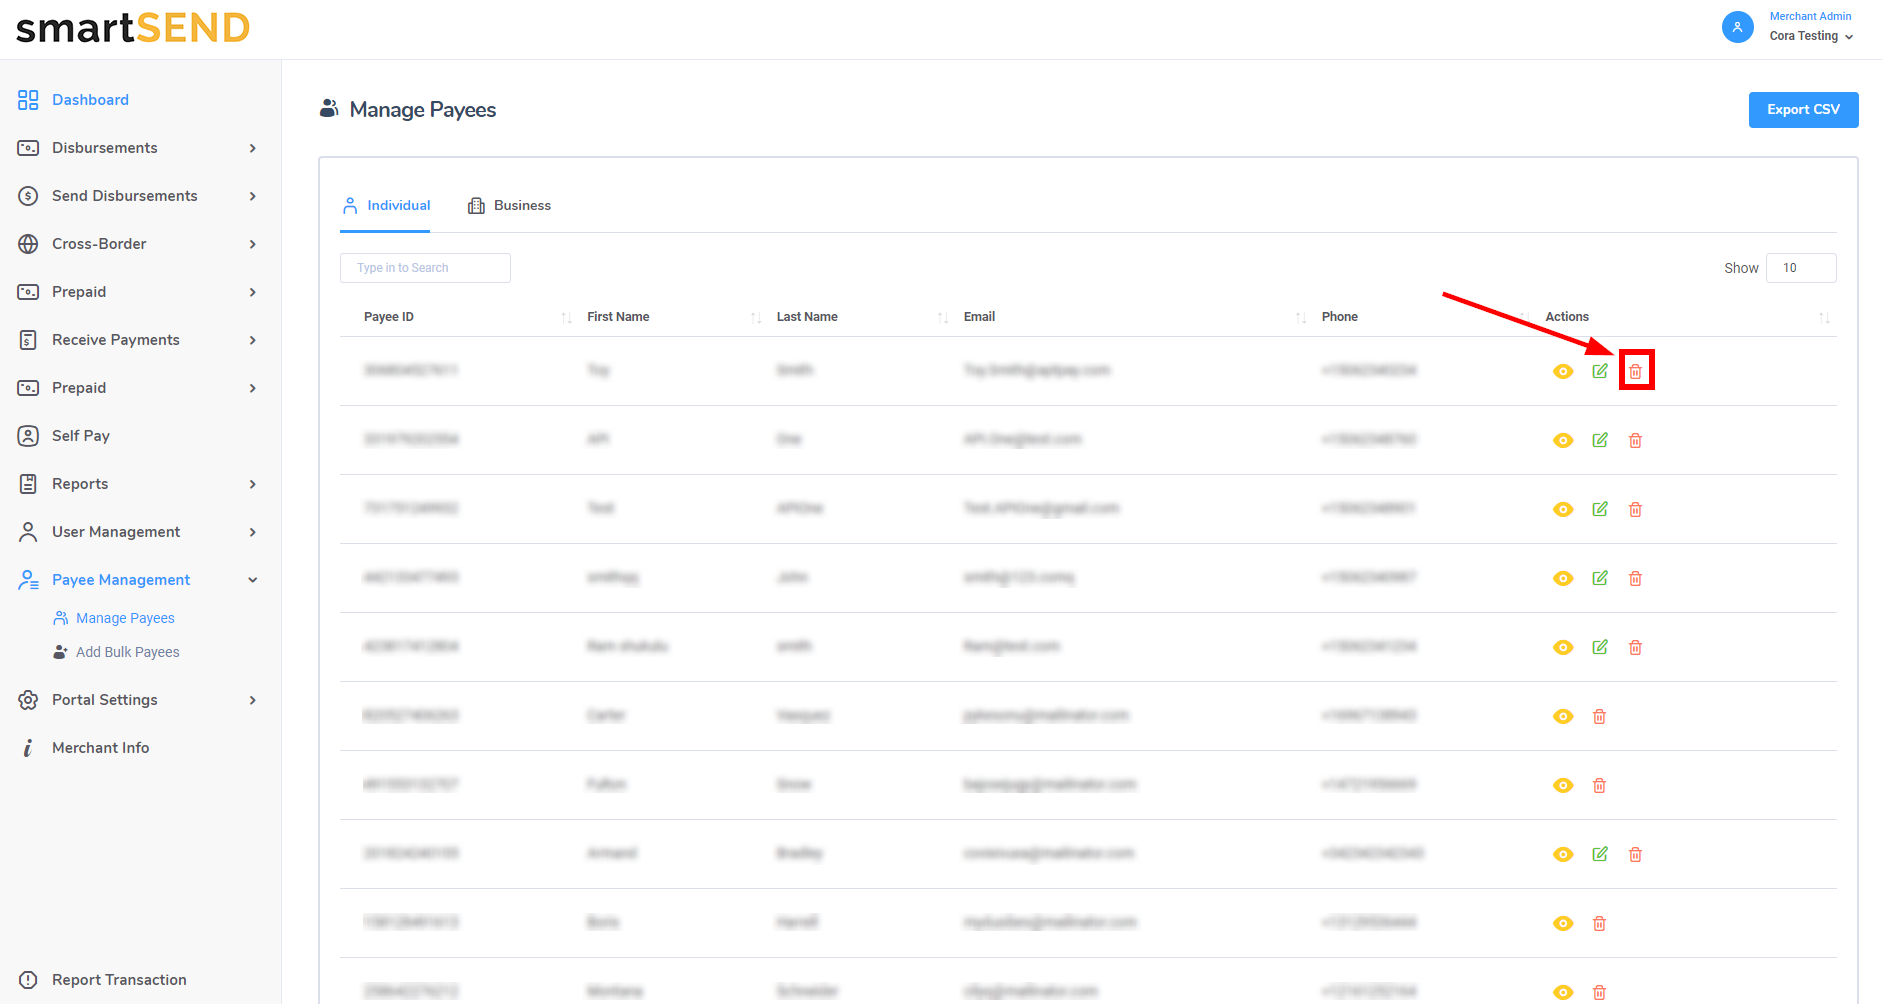
View payees
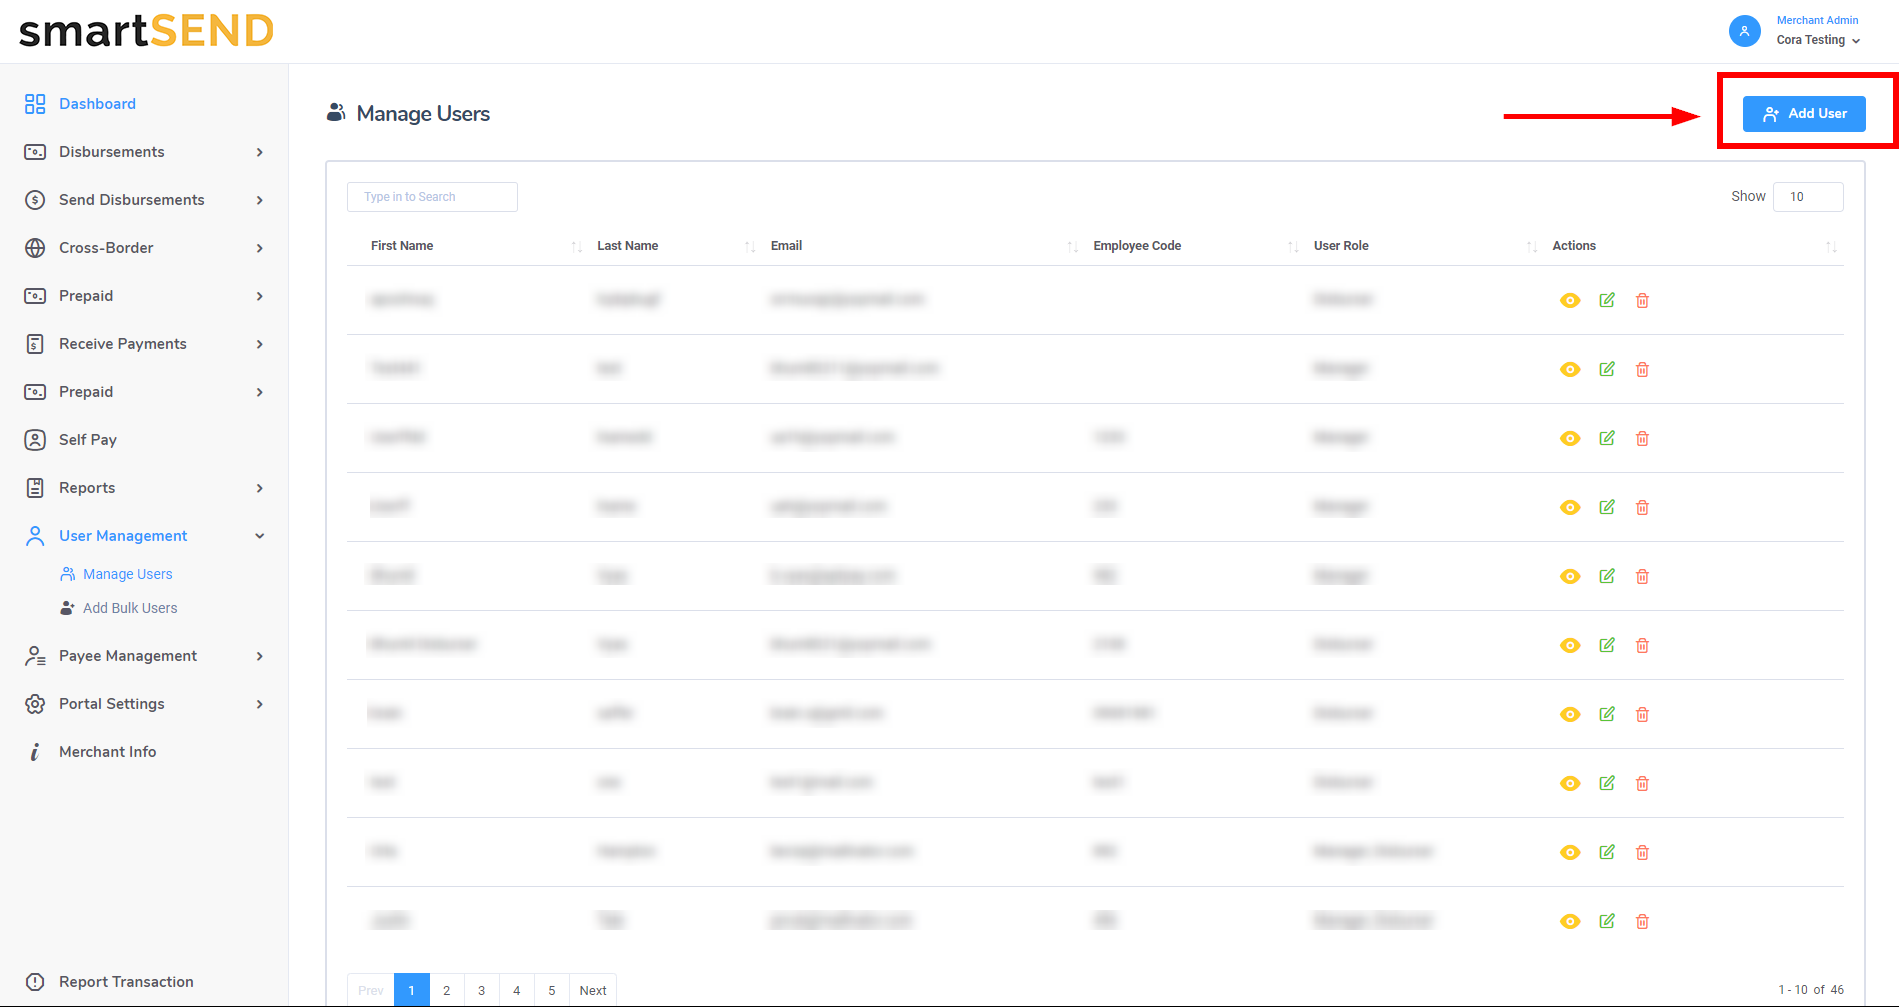
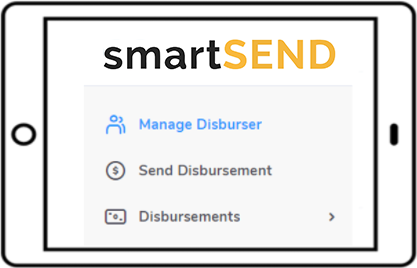
Navigate to Manage Payees by selecting Payee Management drop-down
list from the navigation menu on the left.

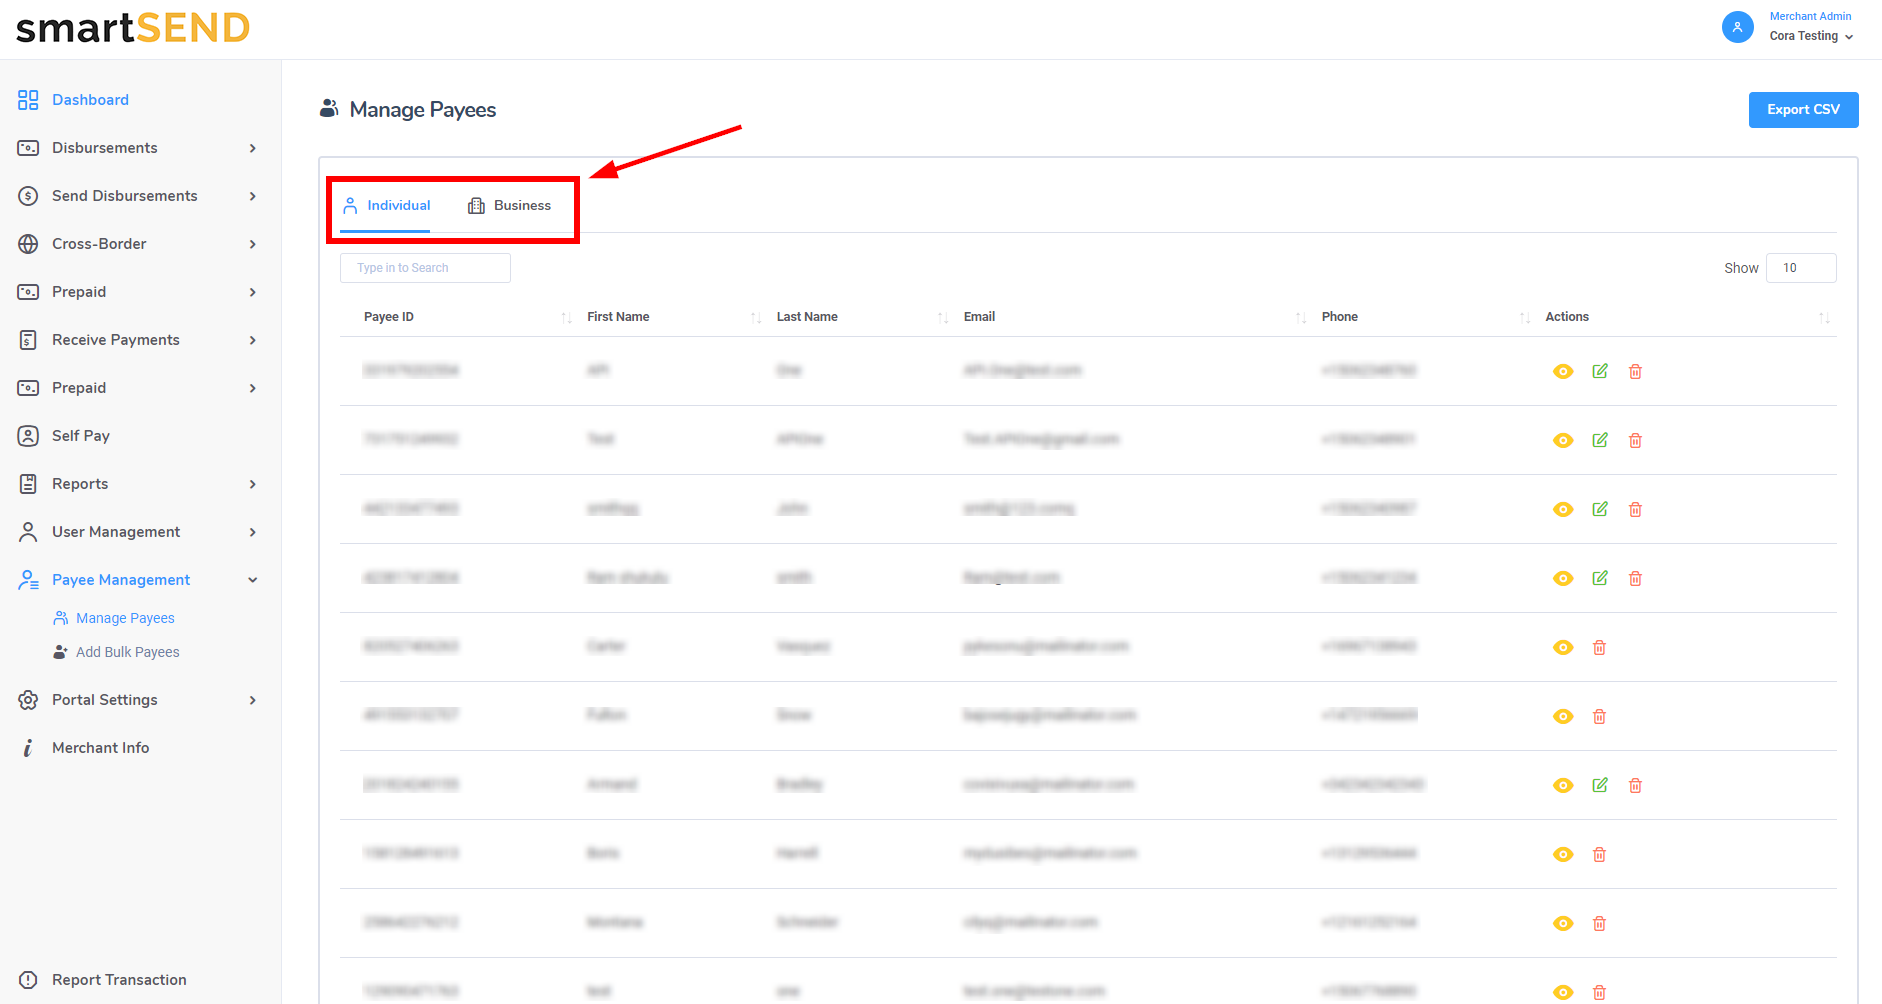
To view all individual payees, select the Individual tab from the menu located above the payee table.
To view business payees, select the Business tab.
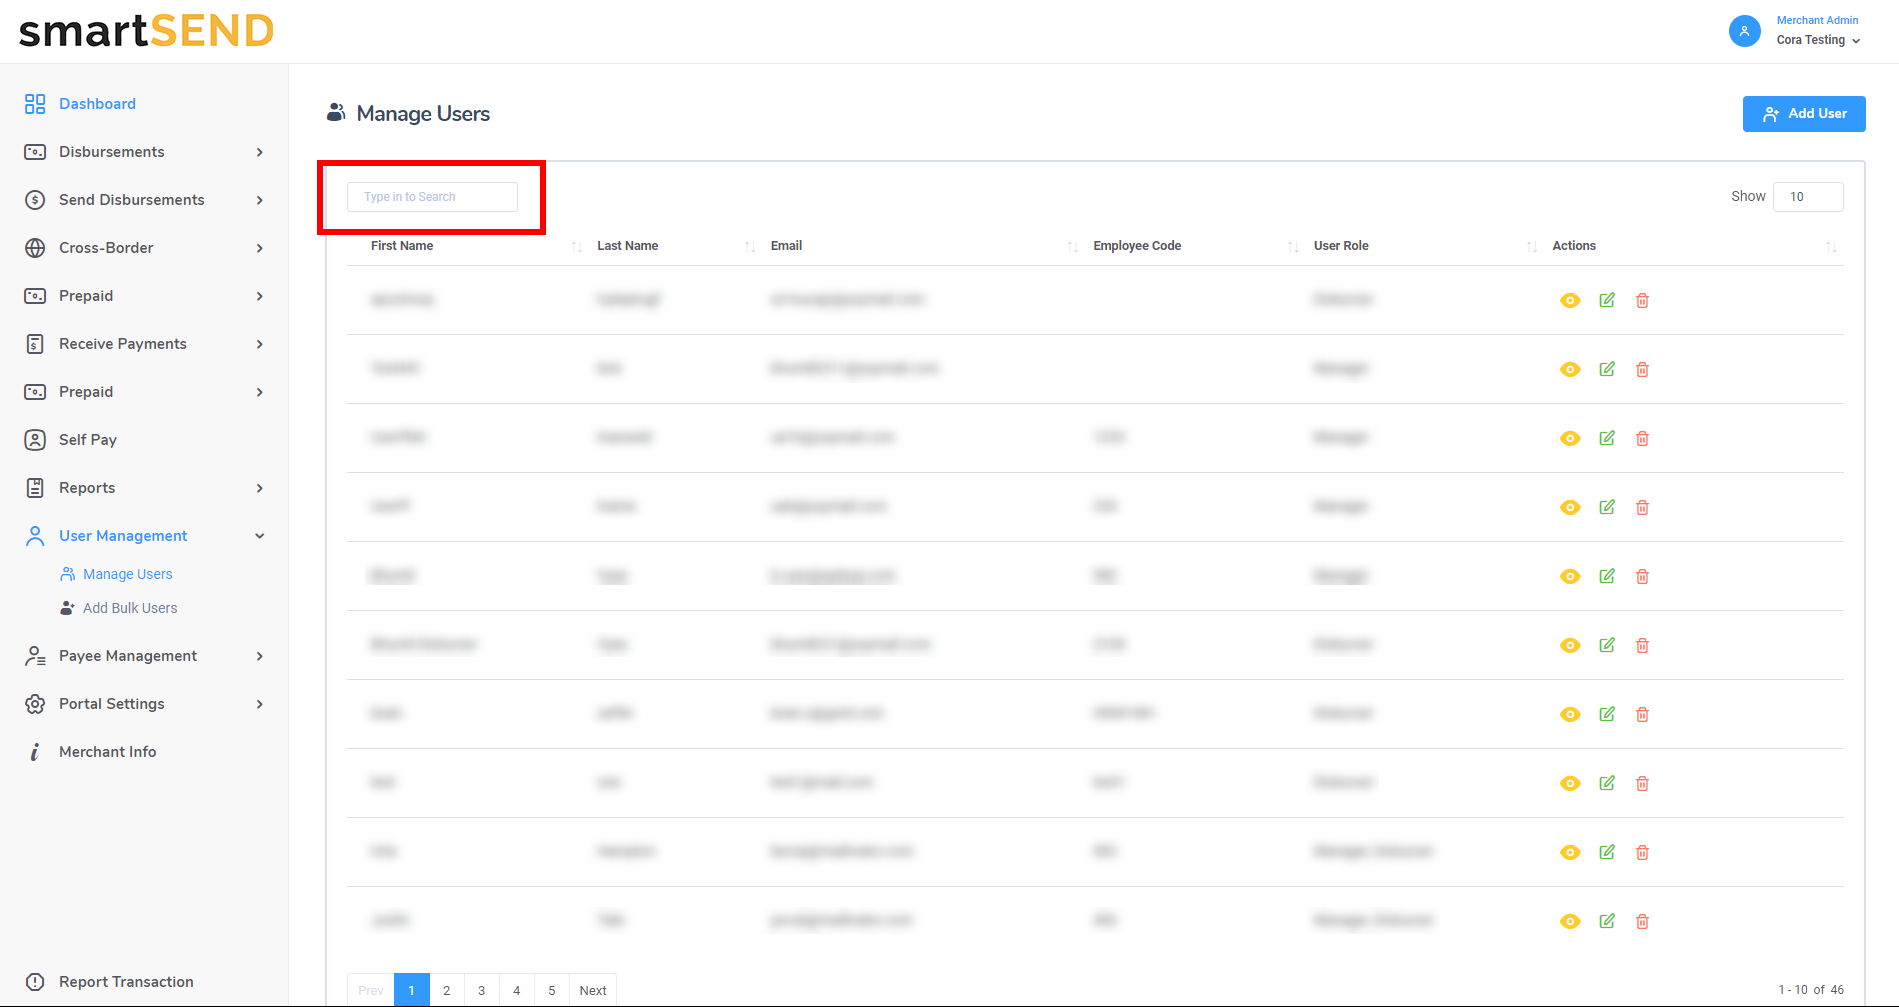
Click on the payee's column label of your choice to display the list in ascending order according to the column chosen.
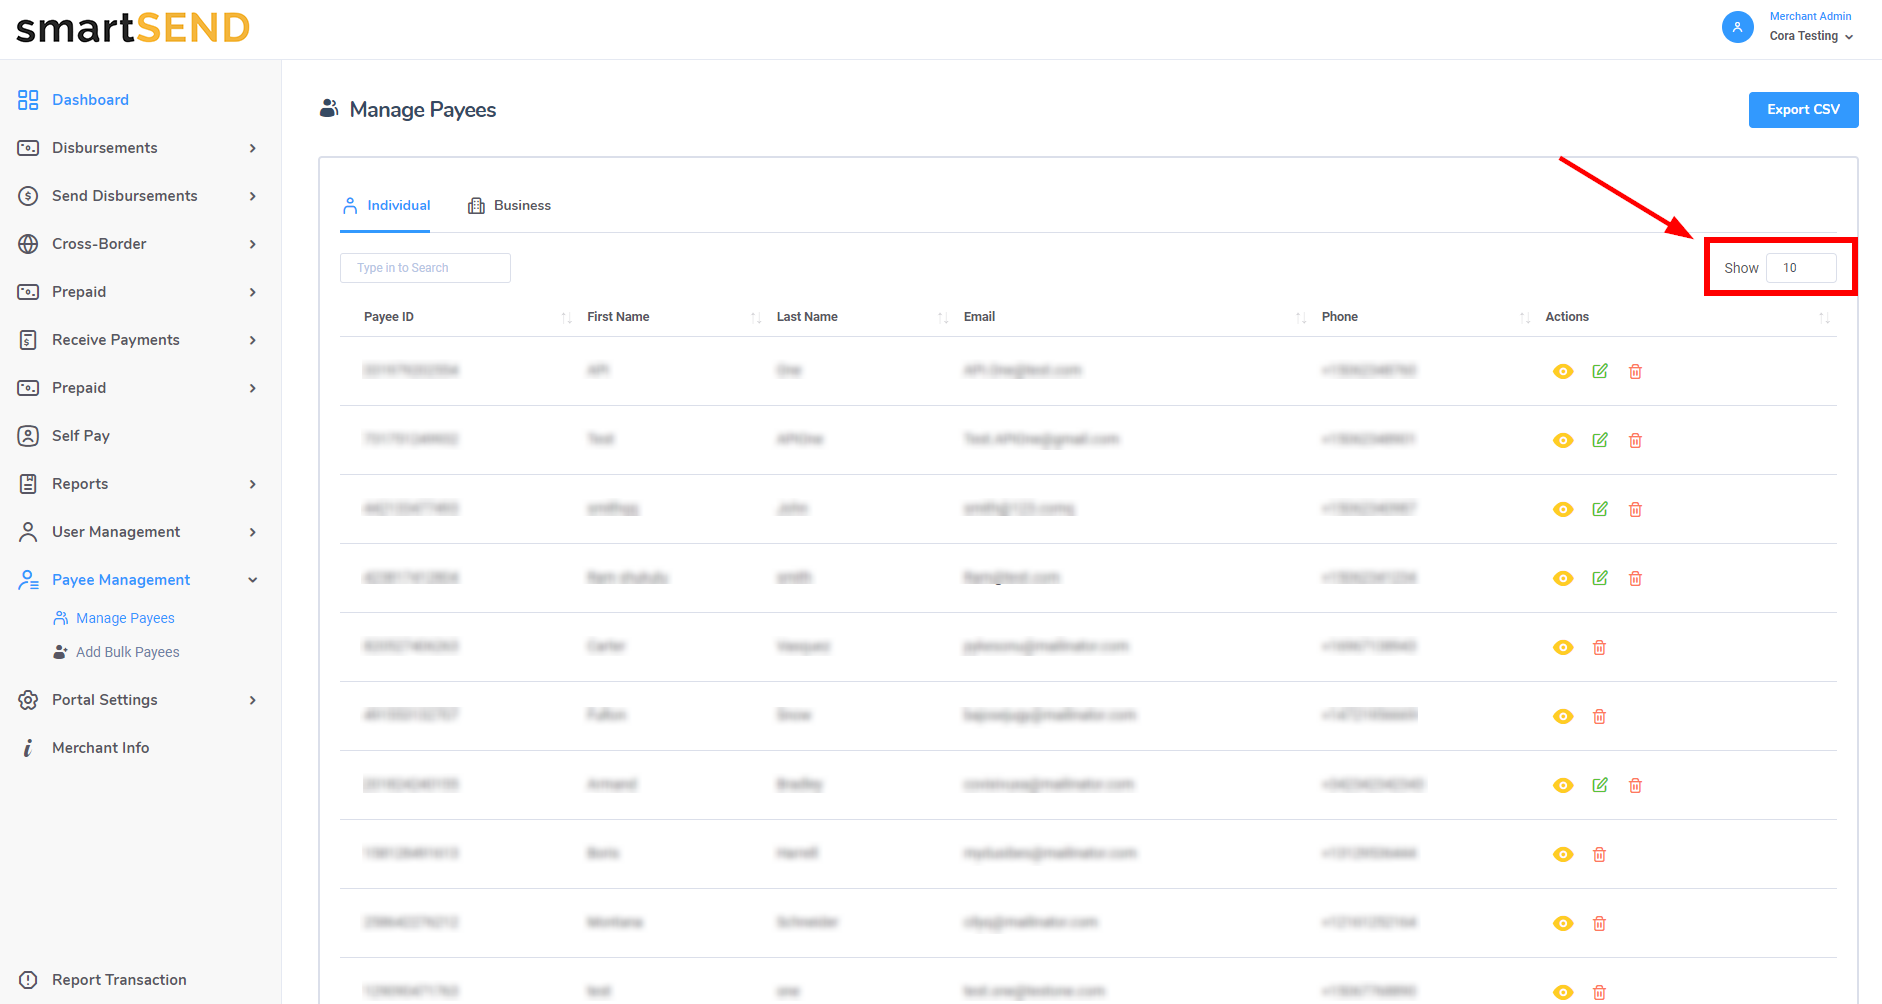
Choose the number of rows displayed by selecting a number on the Show dropdown list.
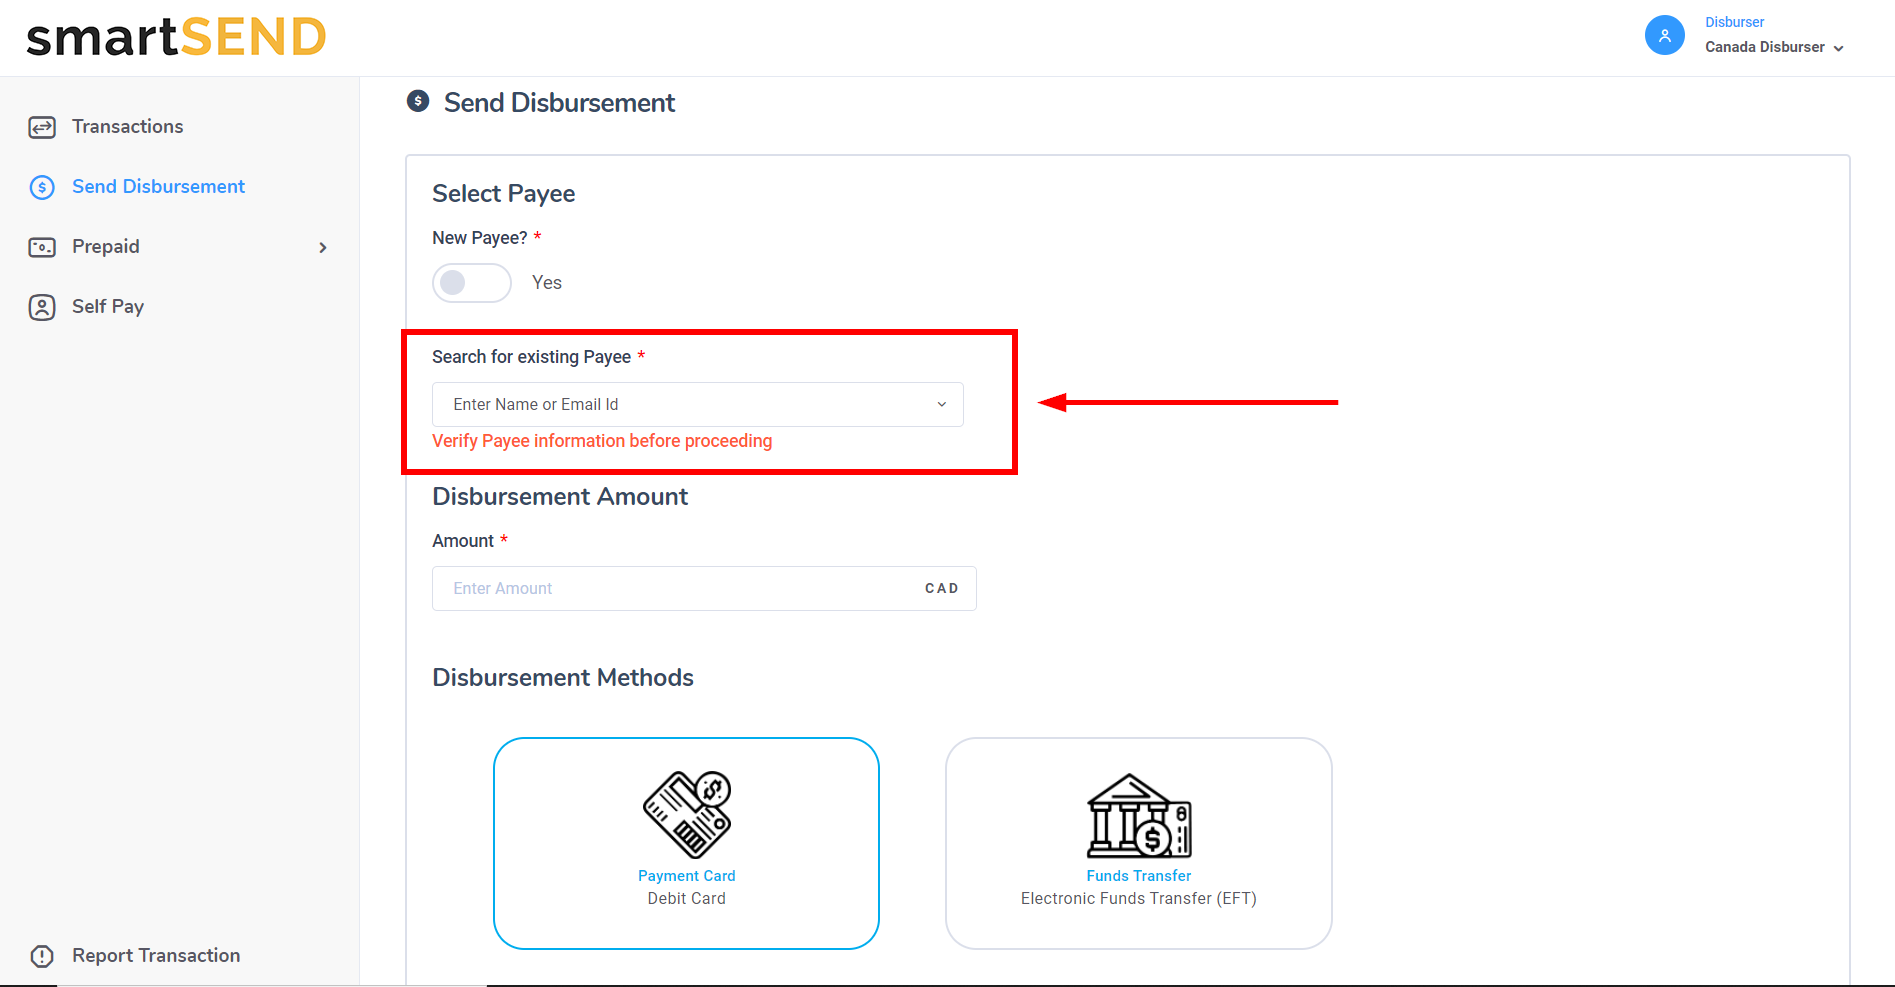
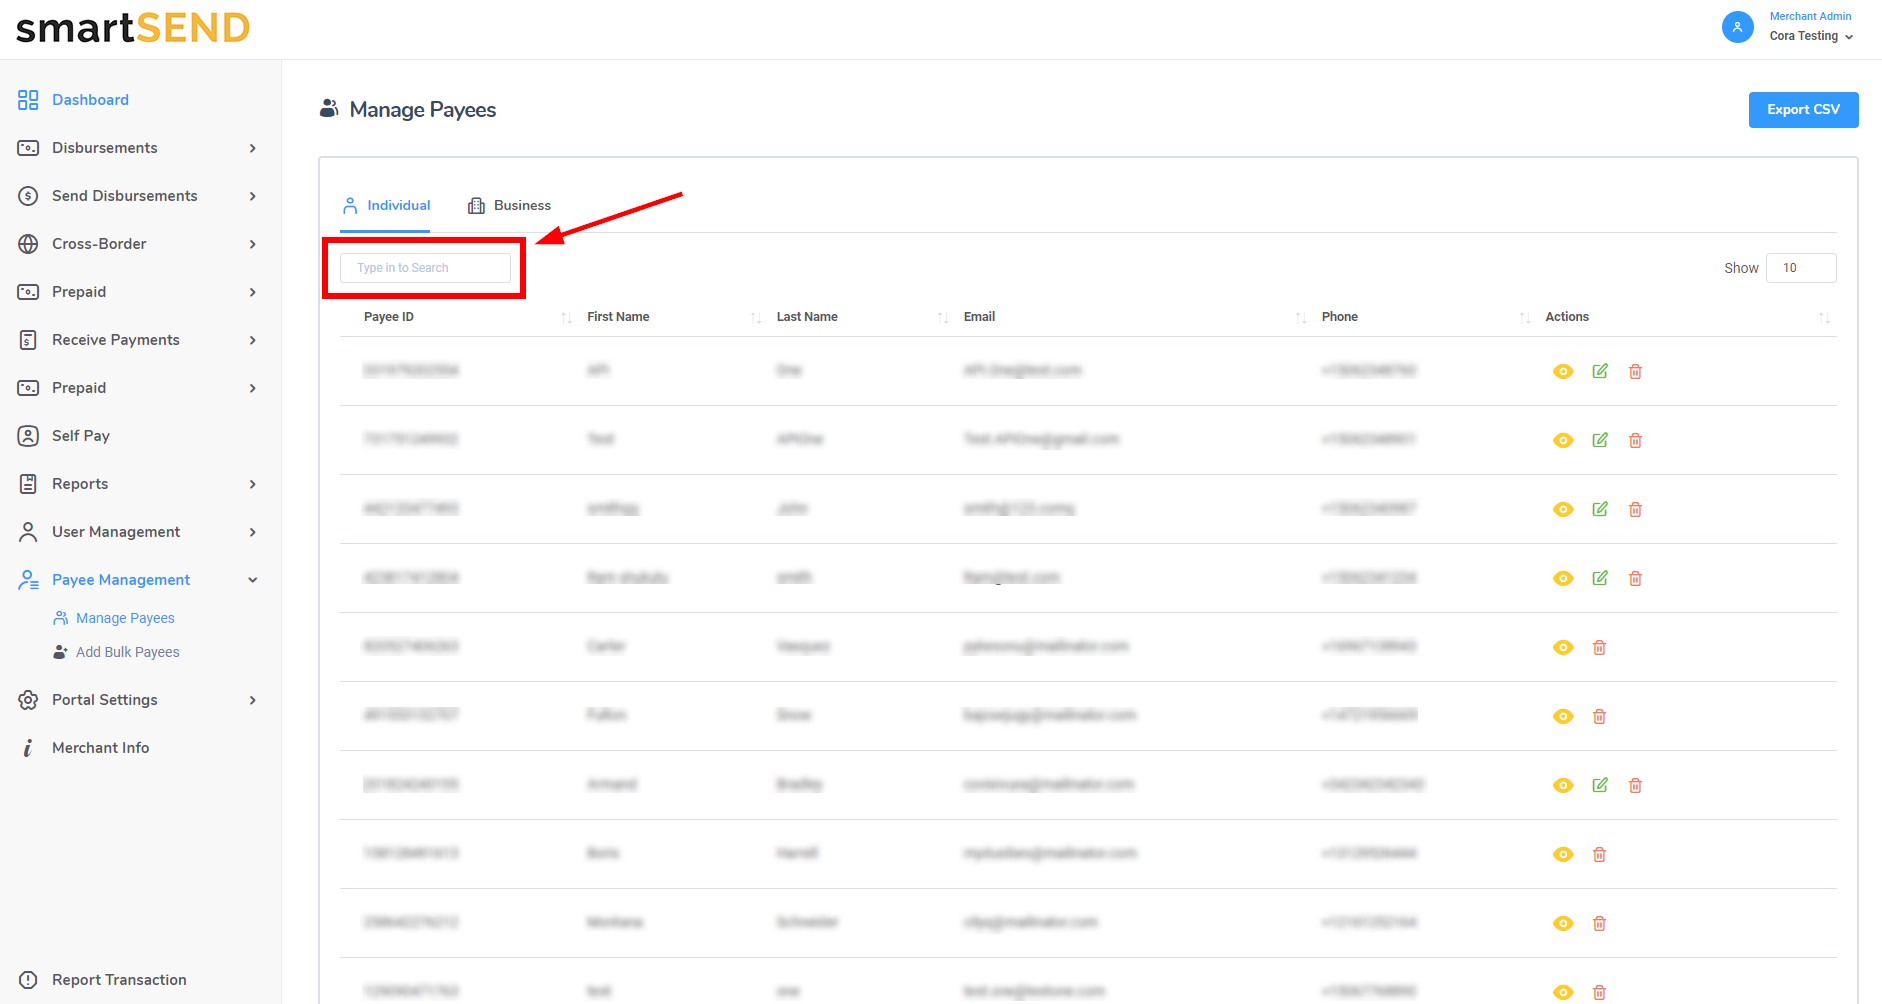
To display a specific payee, search by payee ID, first name, last name, email or phone number using the search bar located at
the top left of the payee table.
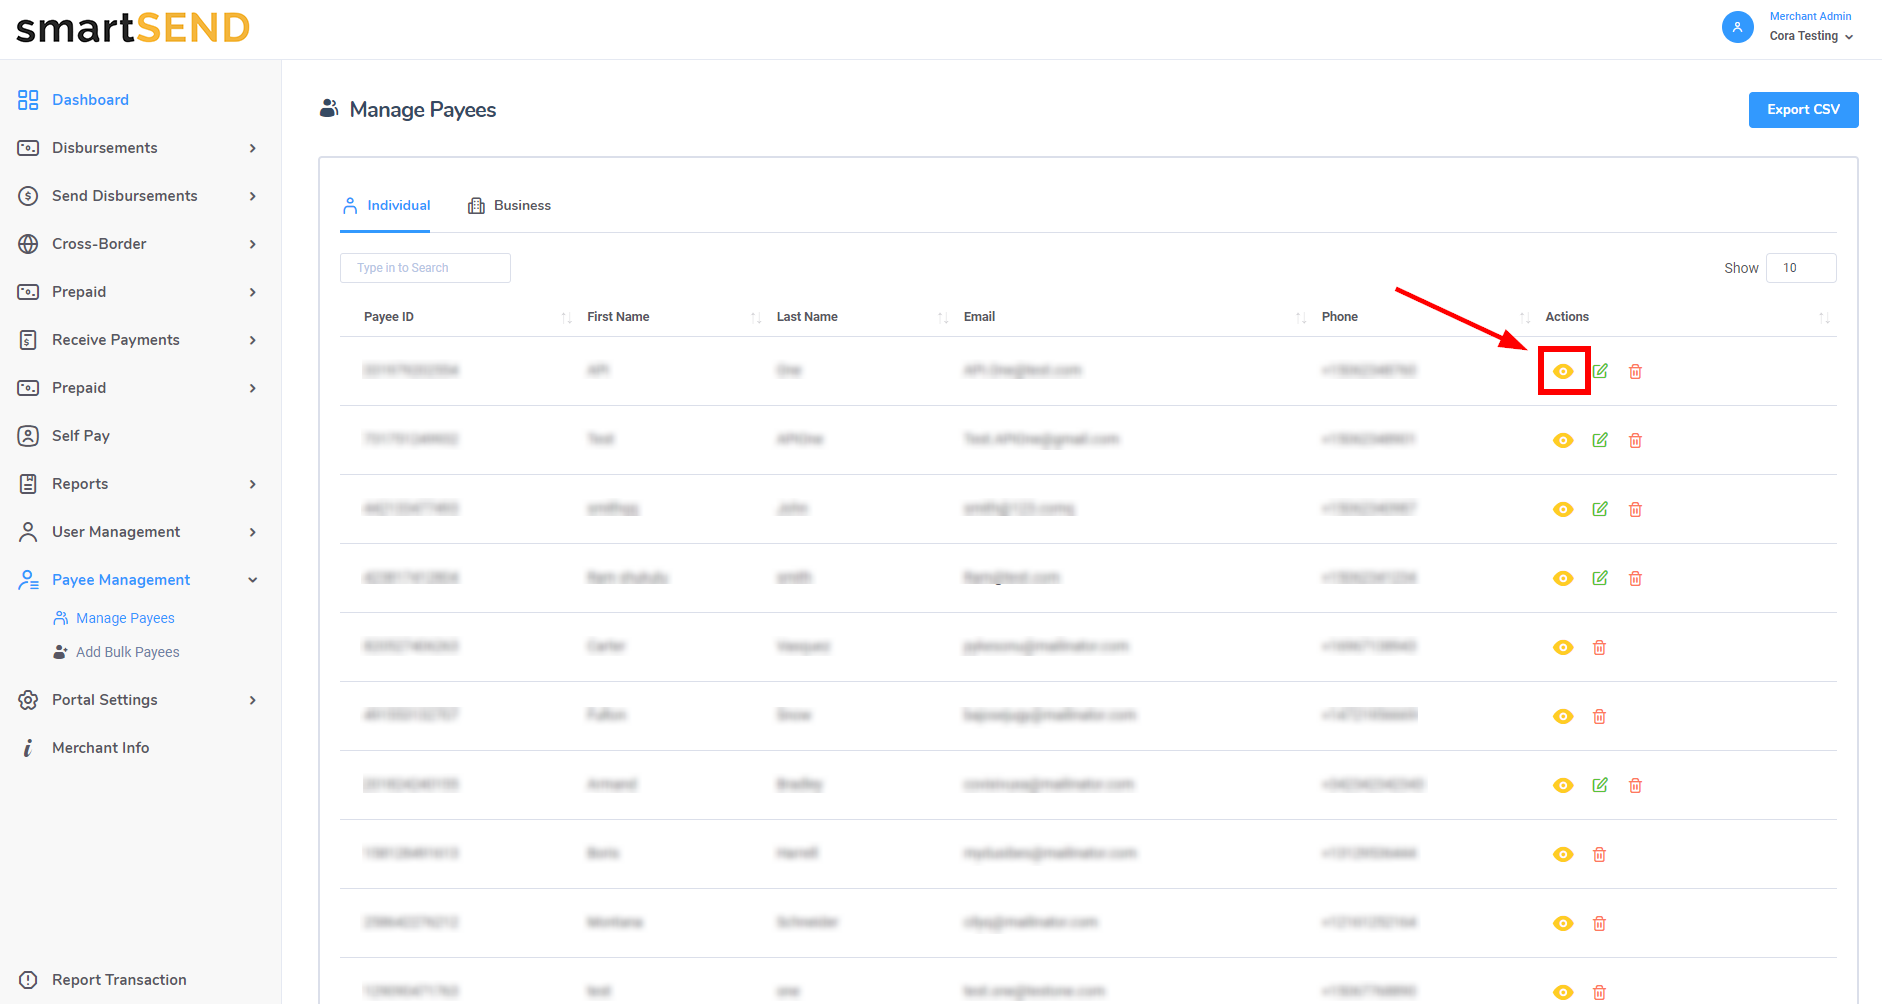
To view additional details about a payee such as birth date, address, custom fields and KYC information, click on the
Eye icon in the Actions column.
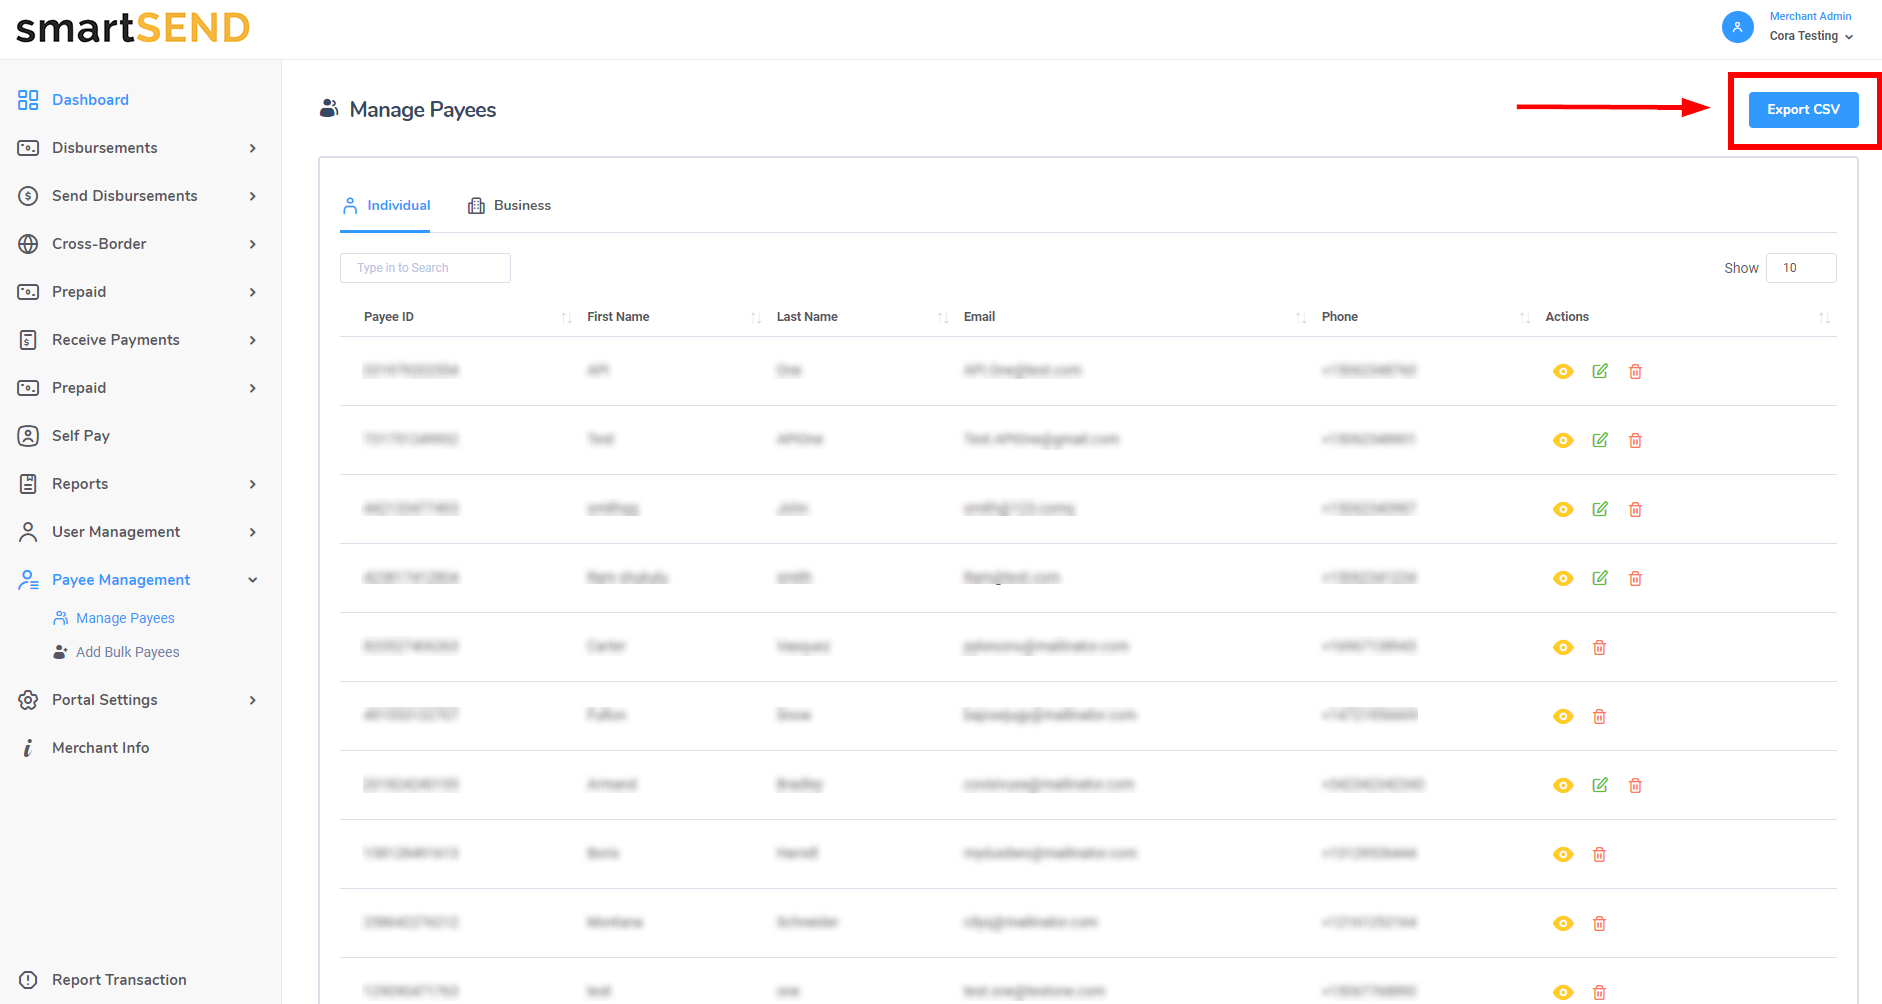
To export payee data into a CSV file, click on the Export CSV button located at the top right of the page. If the Individual tab
has been selected, only individual payees will be exported into the file. If the Business tab has been selected, only business payees will be exported.
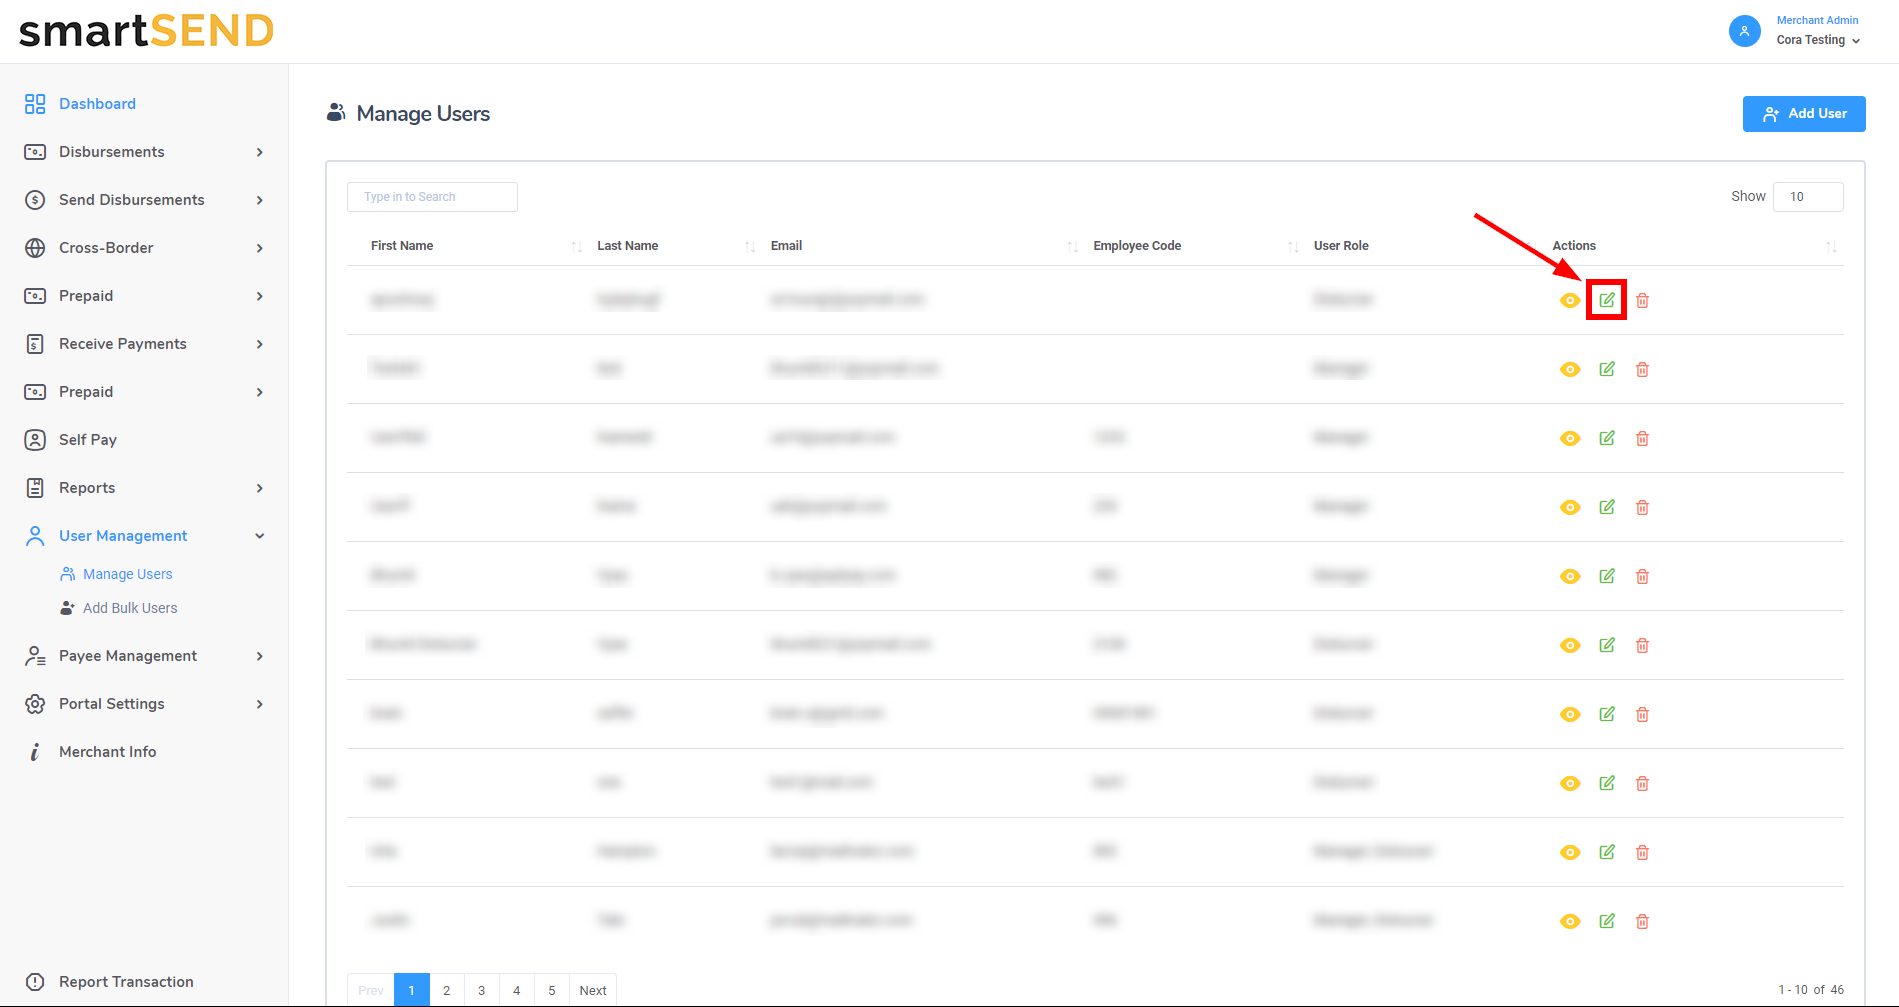
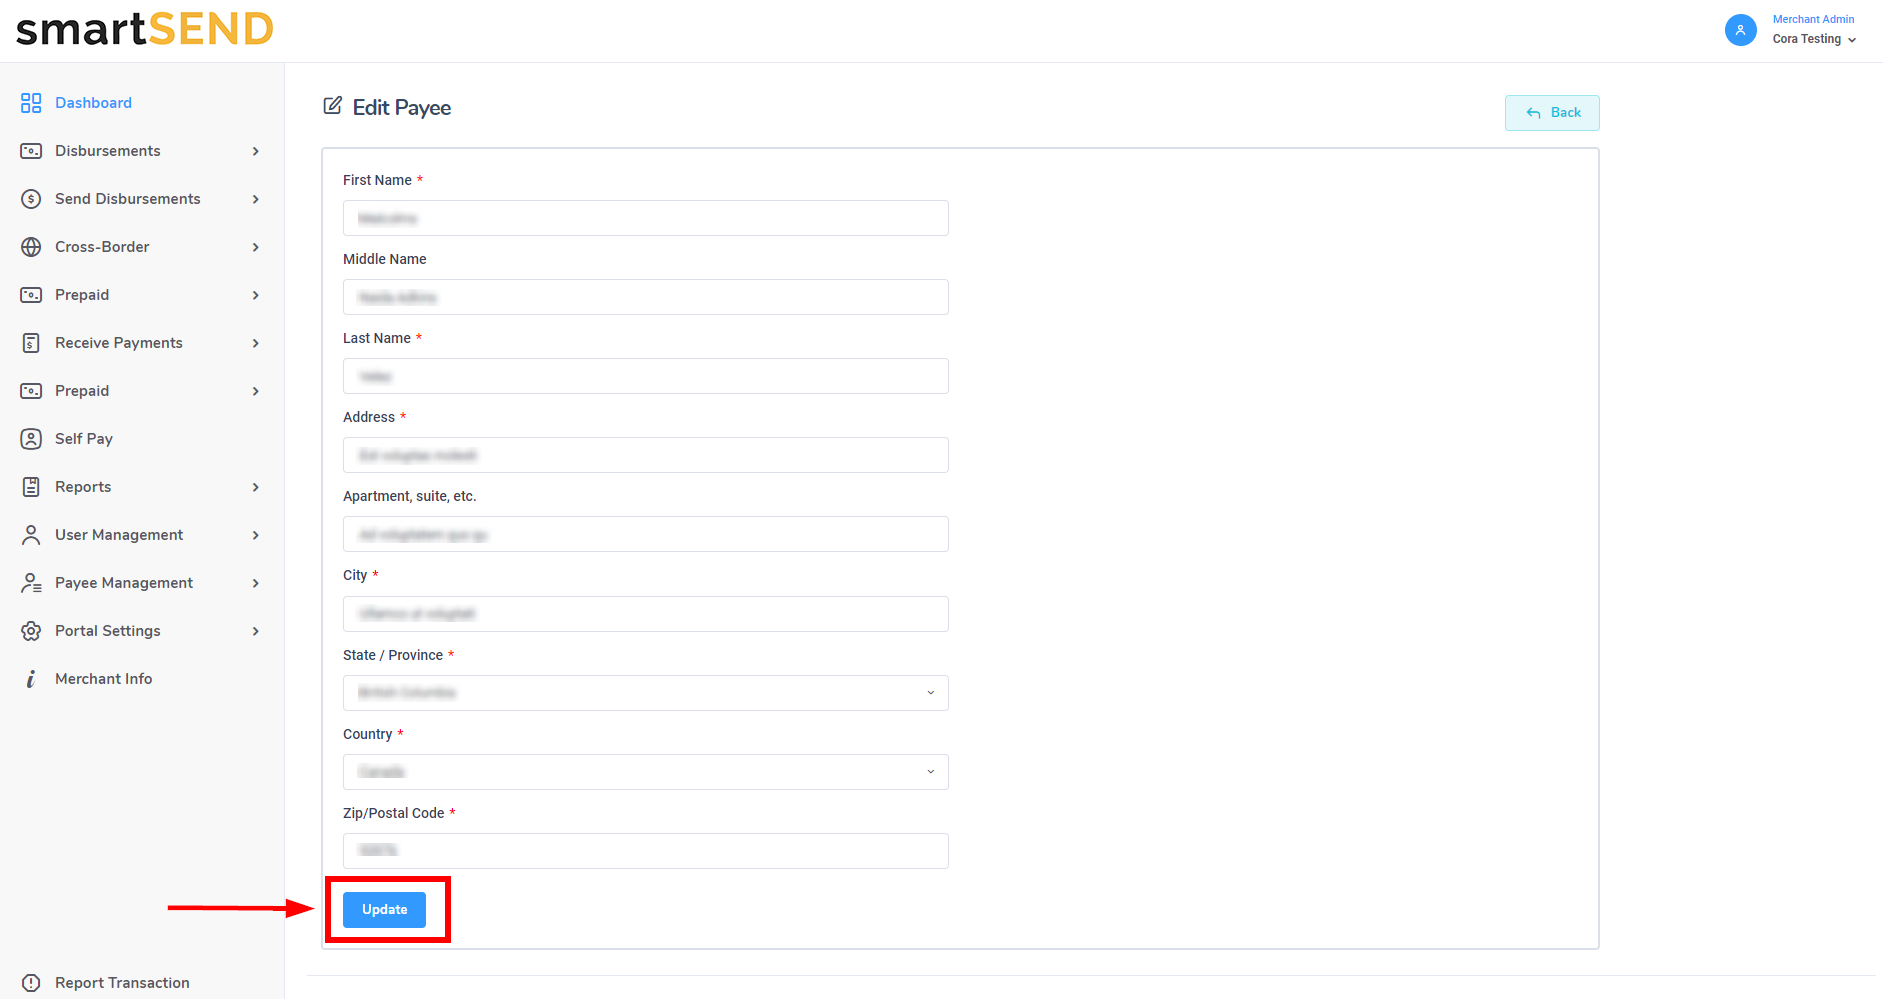
Edit payee
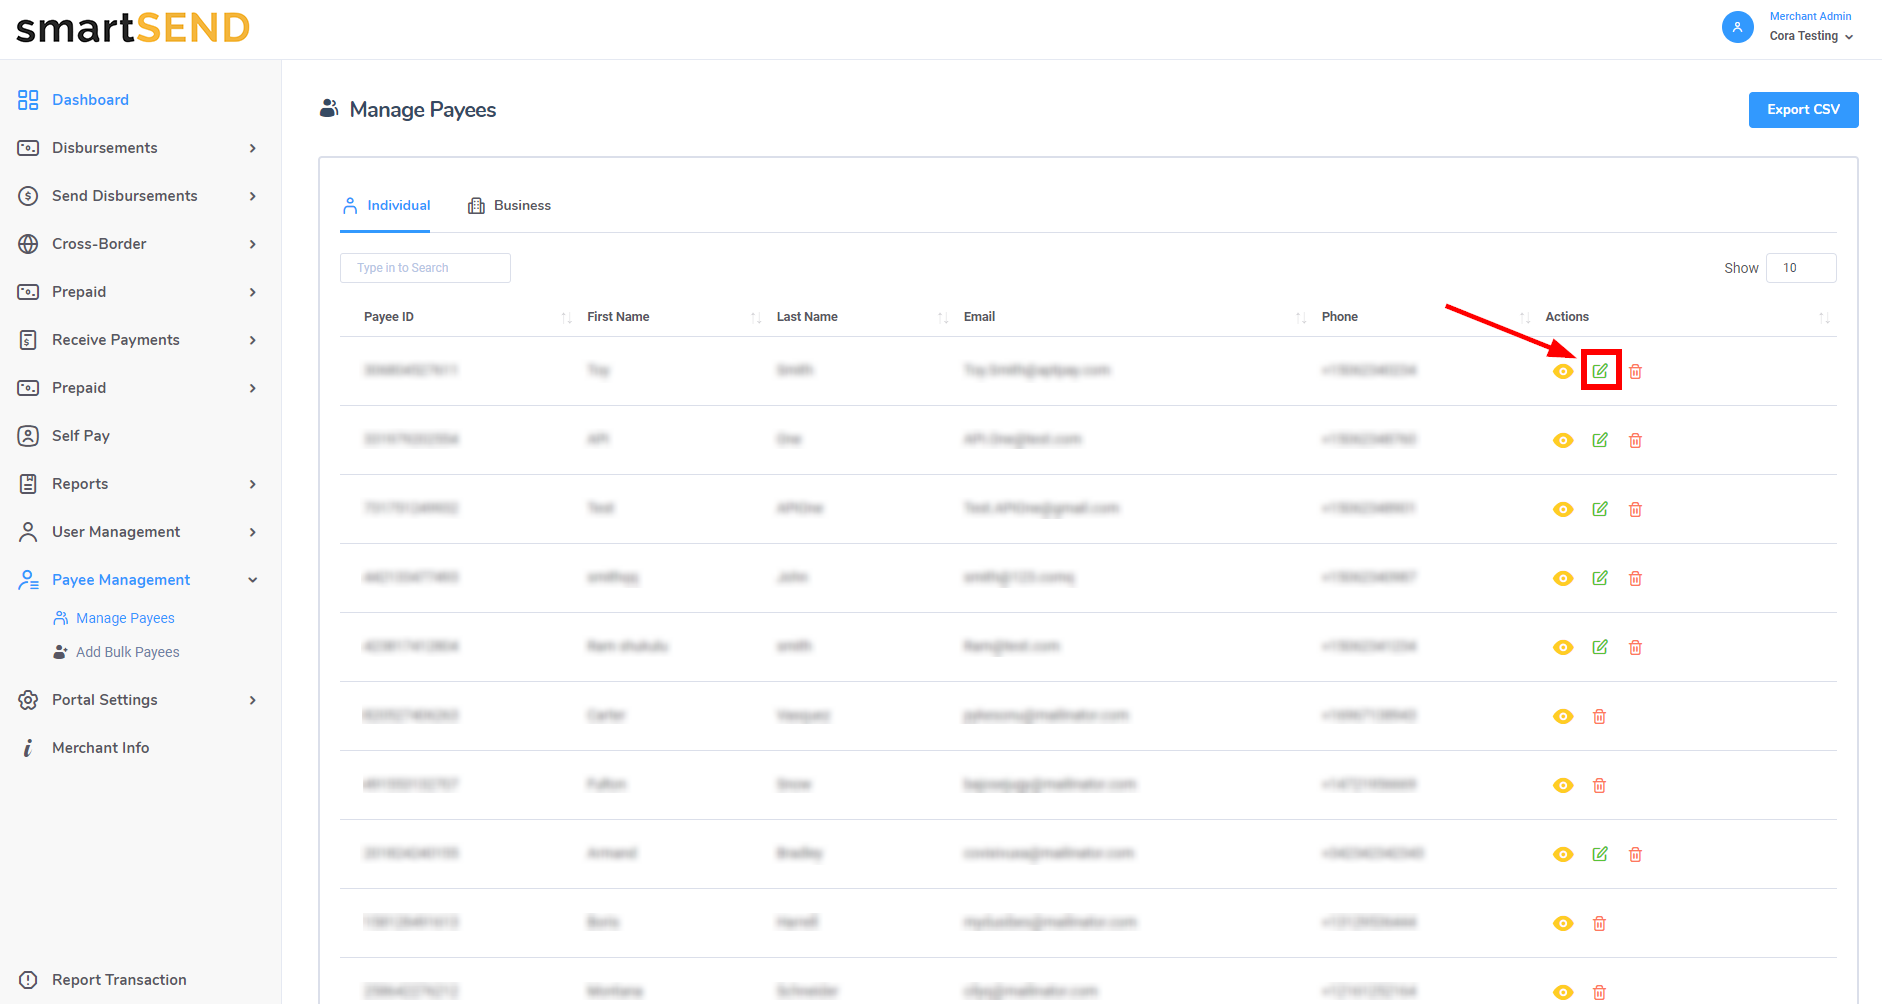
Click on the Edit icon - located to the right of the Eye icon in the Actions column - to navigate to the Edit Payee page.
Note: for SelfPay payees, the edit feature will not be accessible unless the payee’s information has been updated with date of birth, address and, if required, KYC information.
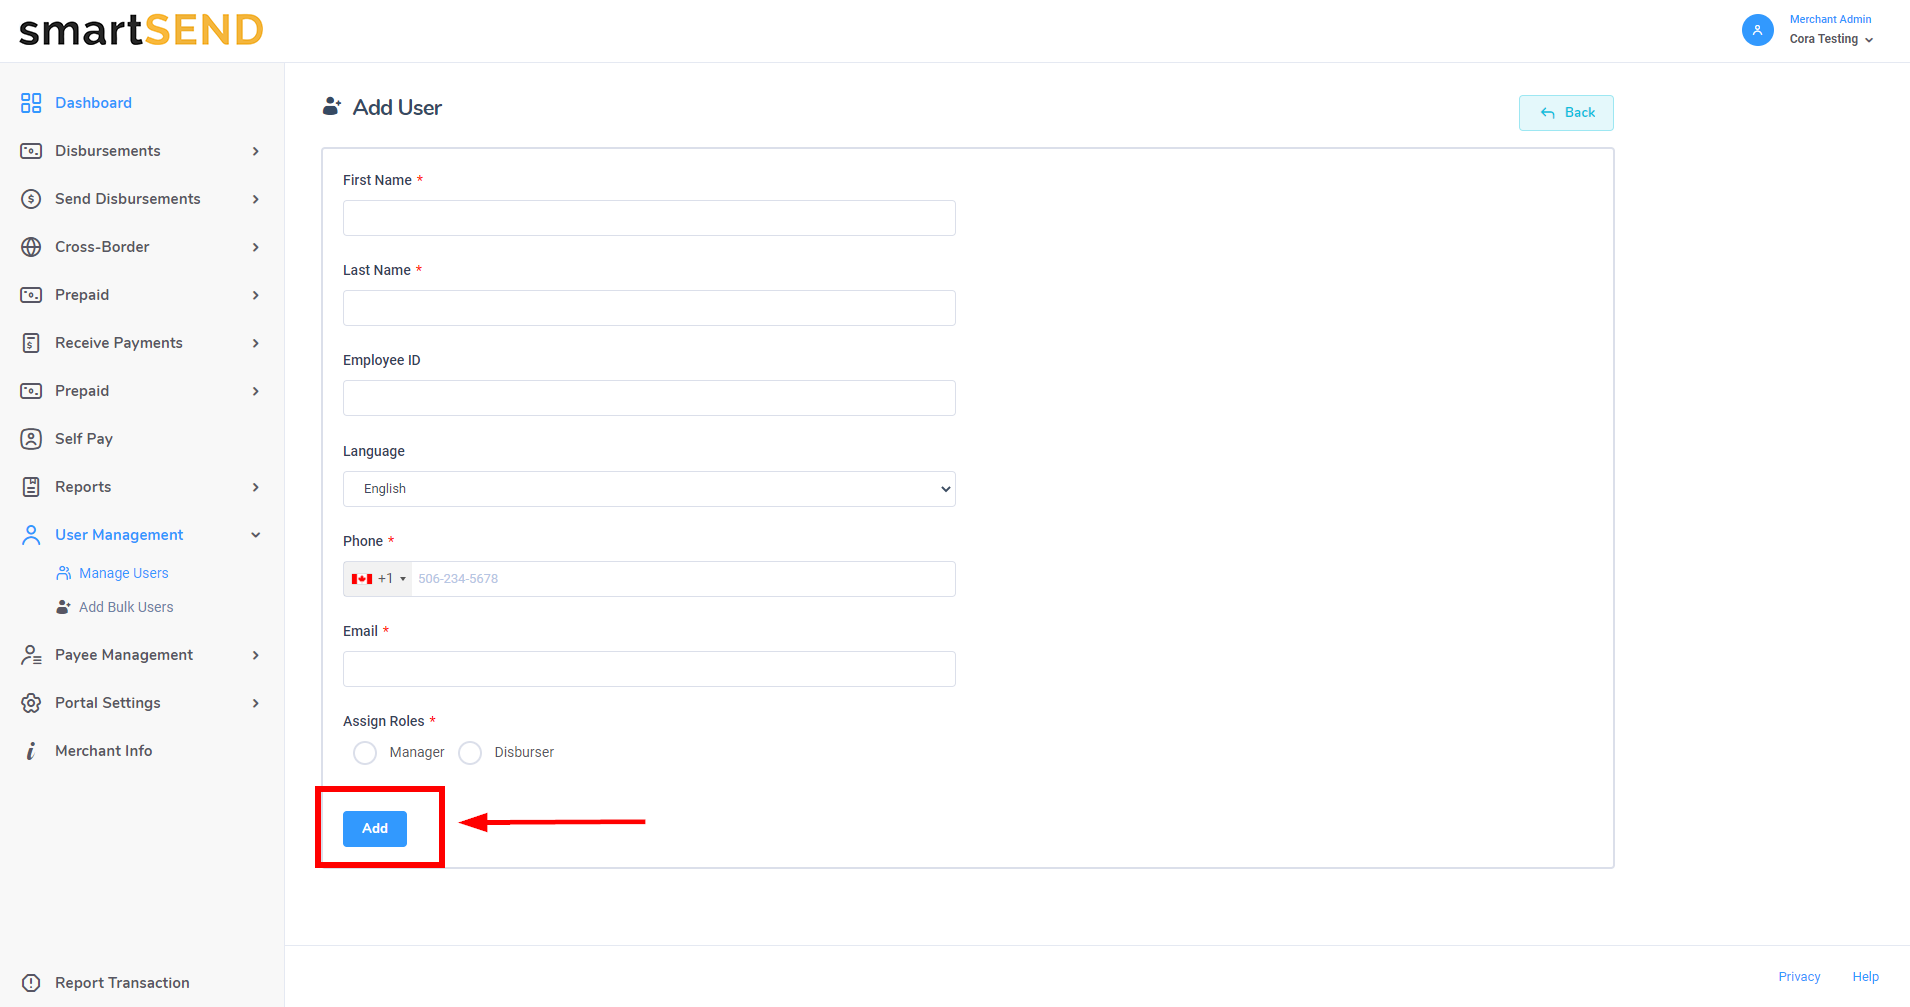
On the Edit Payee page, a form will be displayed with payee information. Update payee information as needed and click on the Update button to save changes.
Delete payee
Click on the Trash Can icon - located to the right of the Edit icon in the Actions column - to permanently delete a payee.
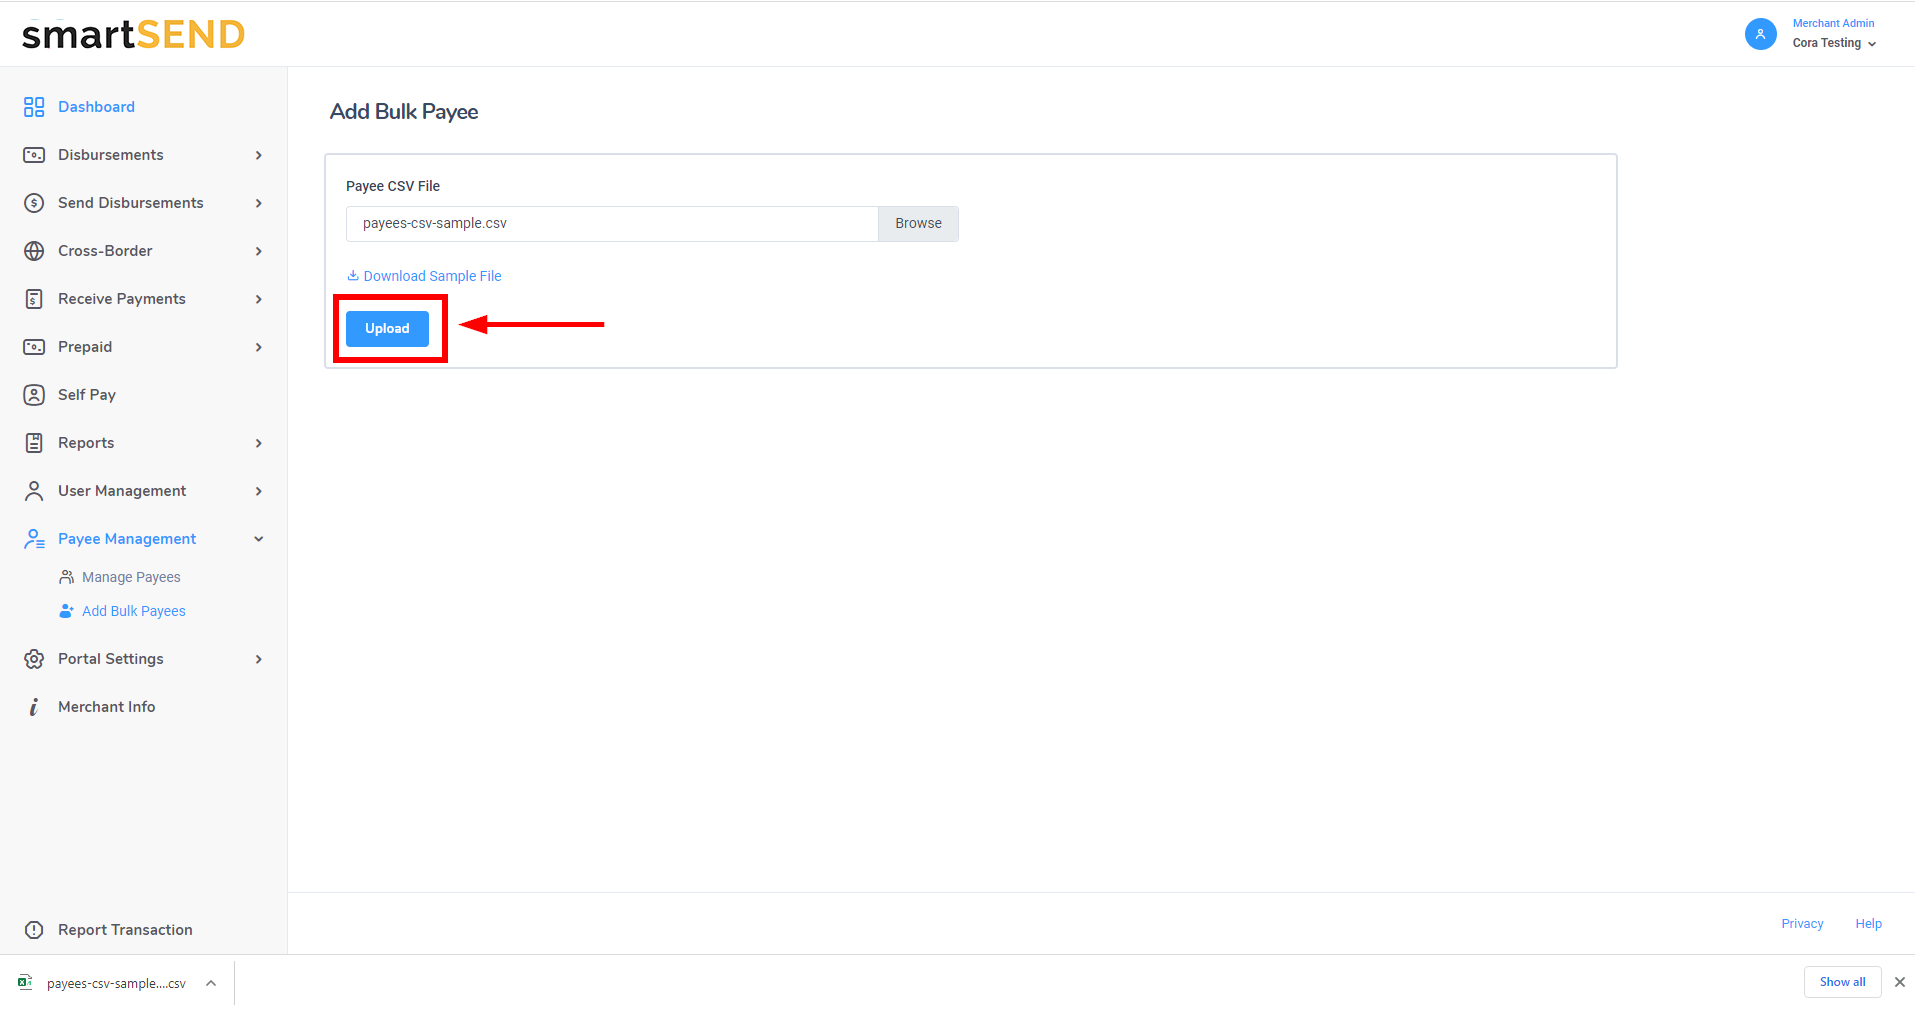
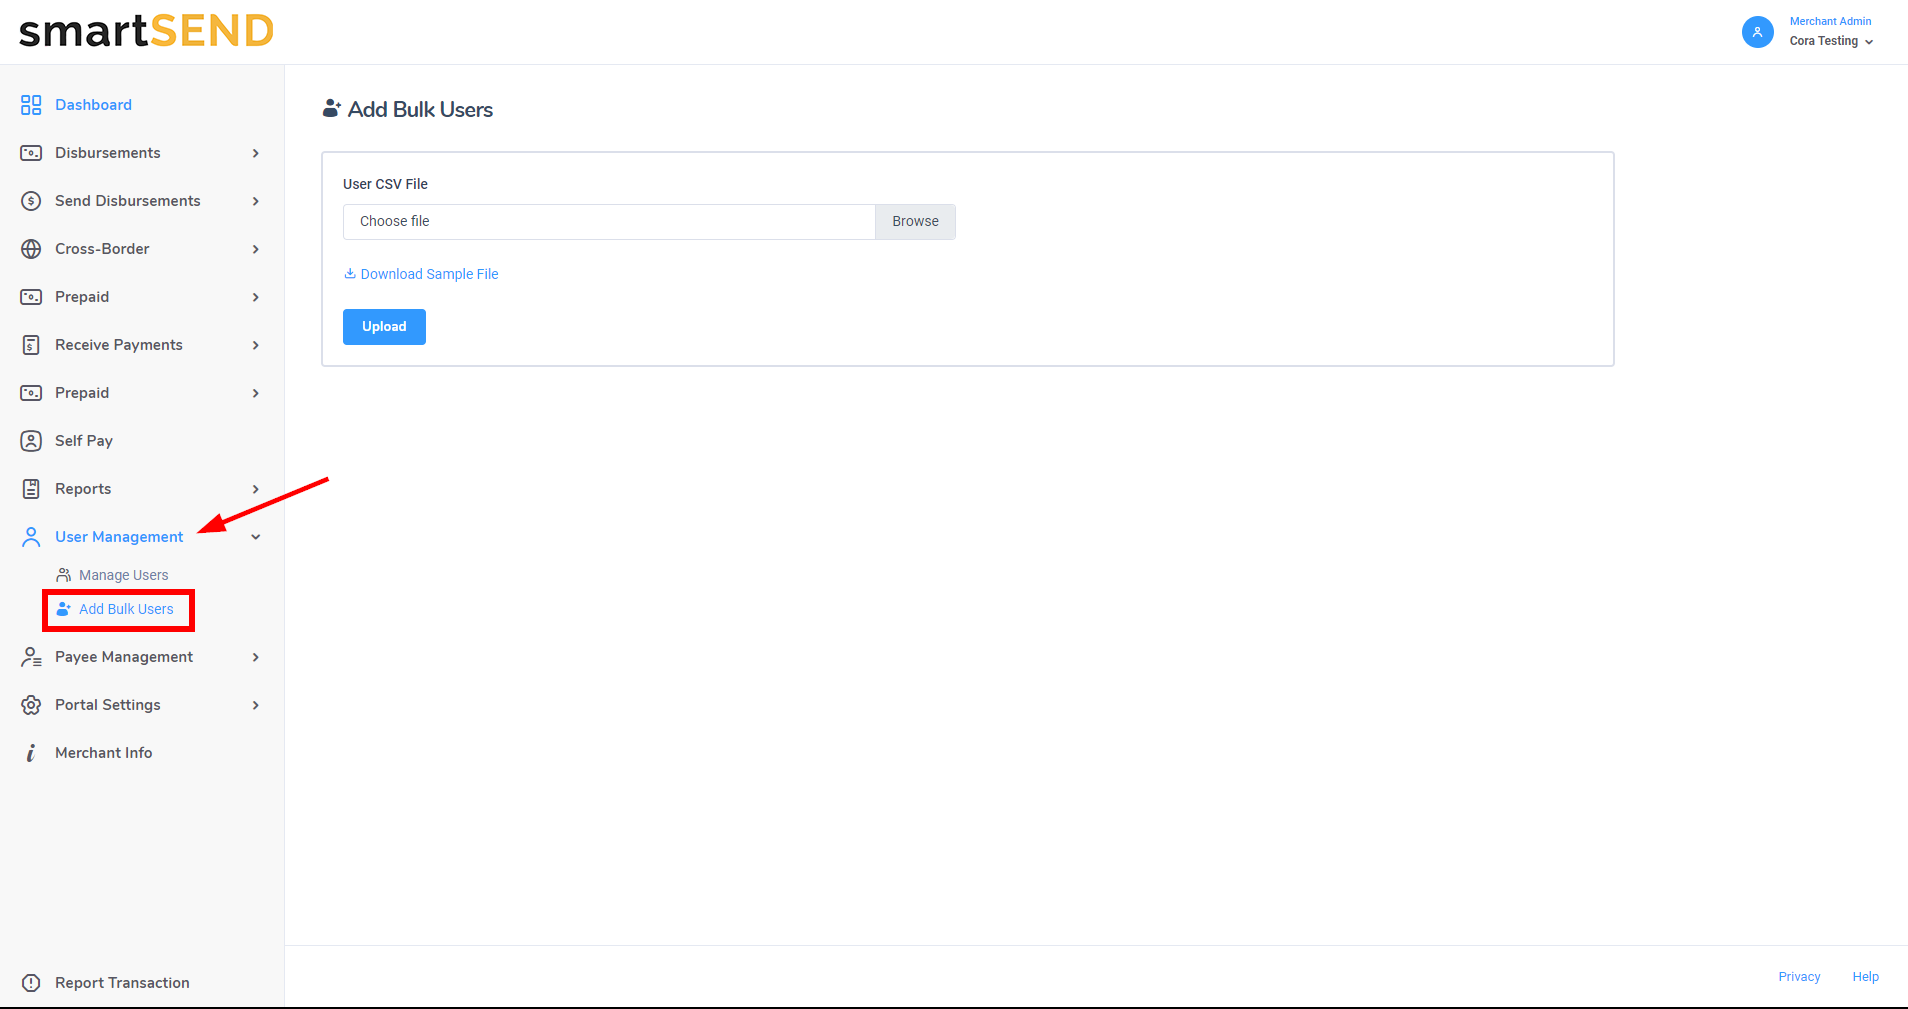
Add bulk payees
Navigate to Add Bulk Payees by selecting Payee Management drop-down
list from the navigation menu on the left.
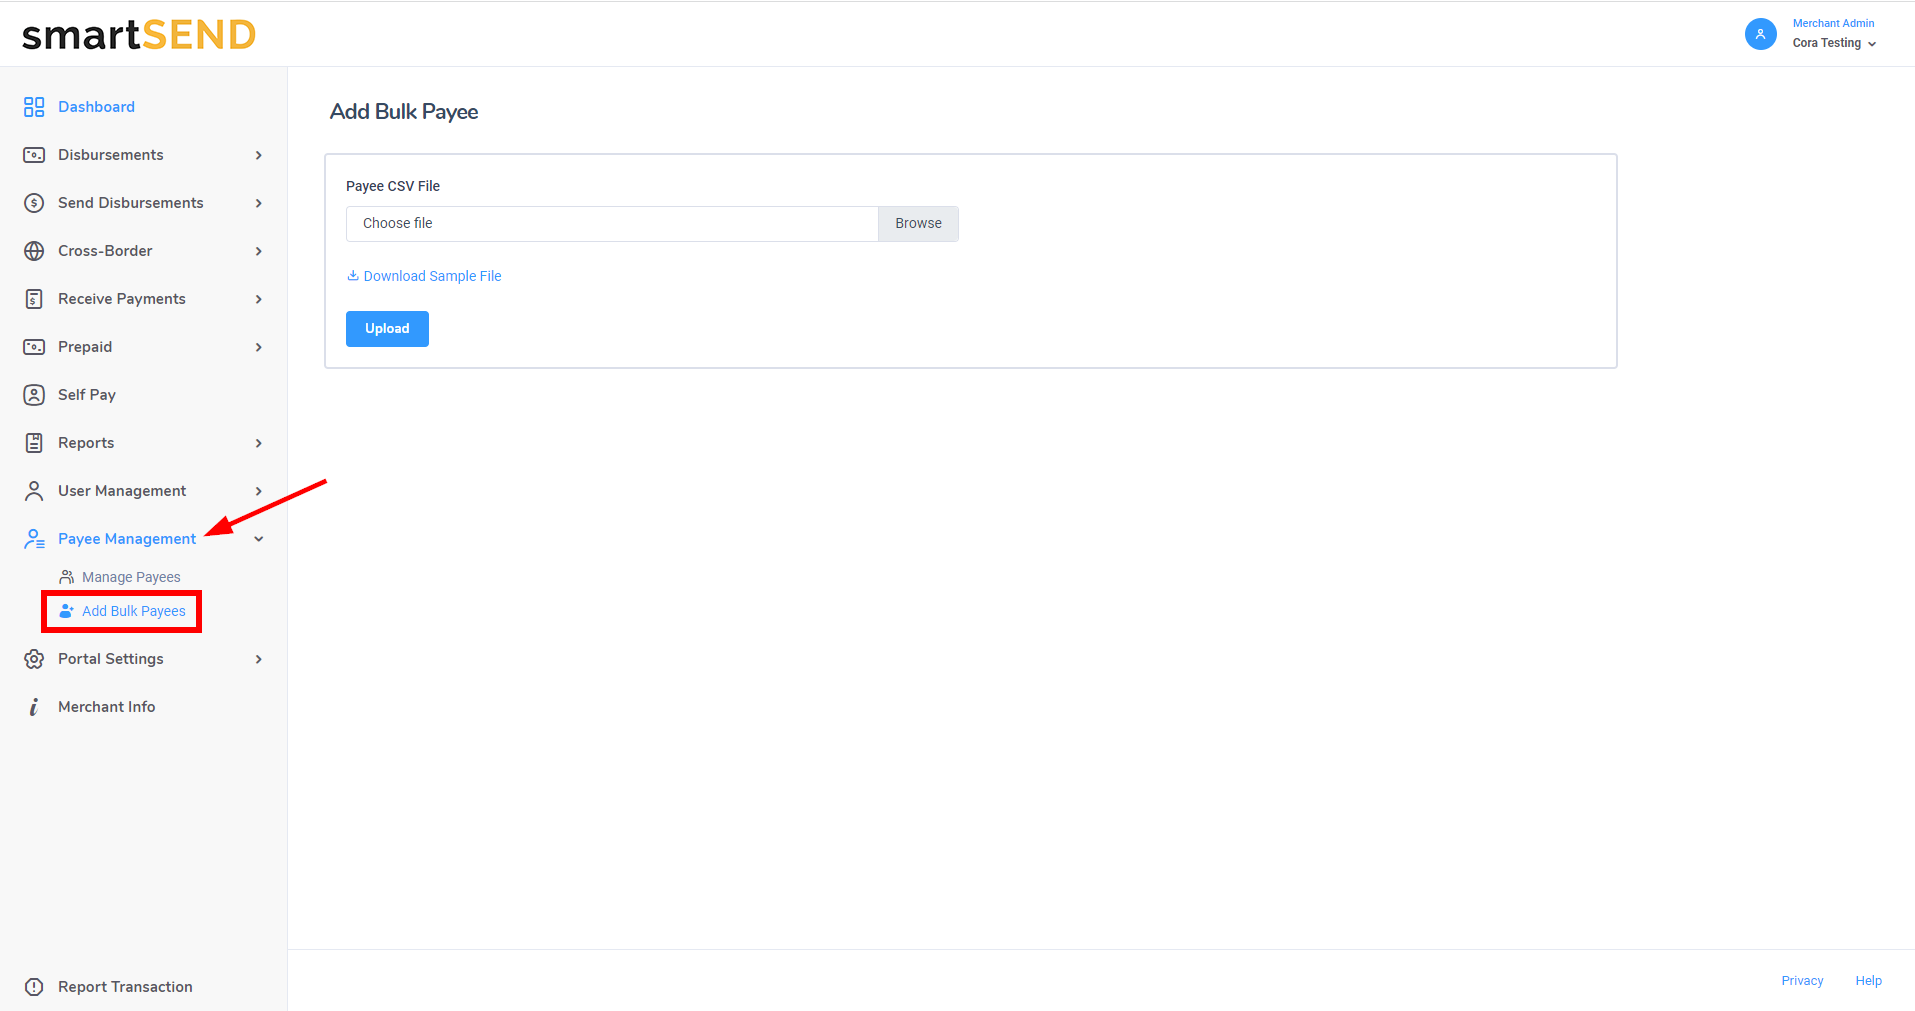
Click on the Download Sample File link to download a sample file to populate with payee data.
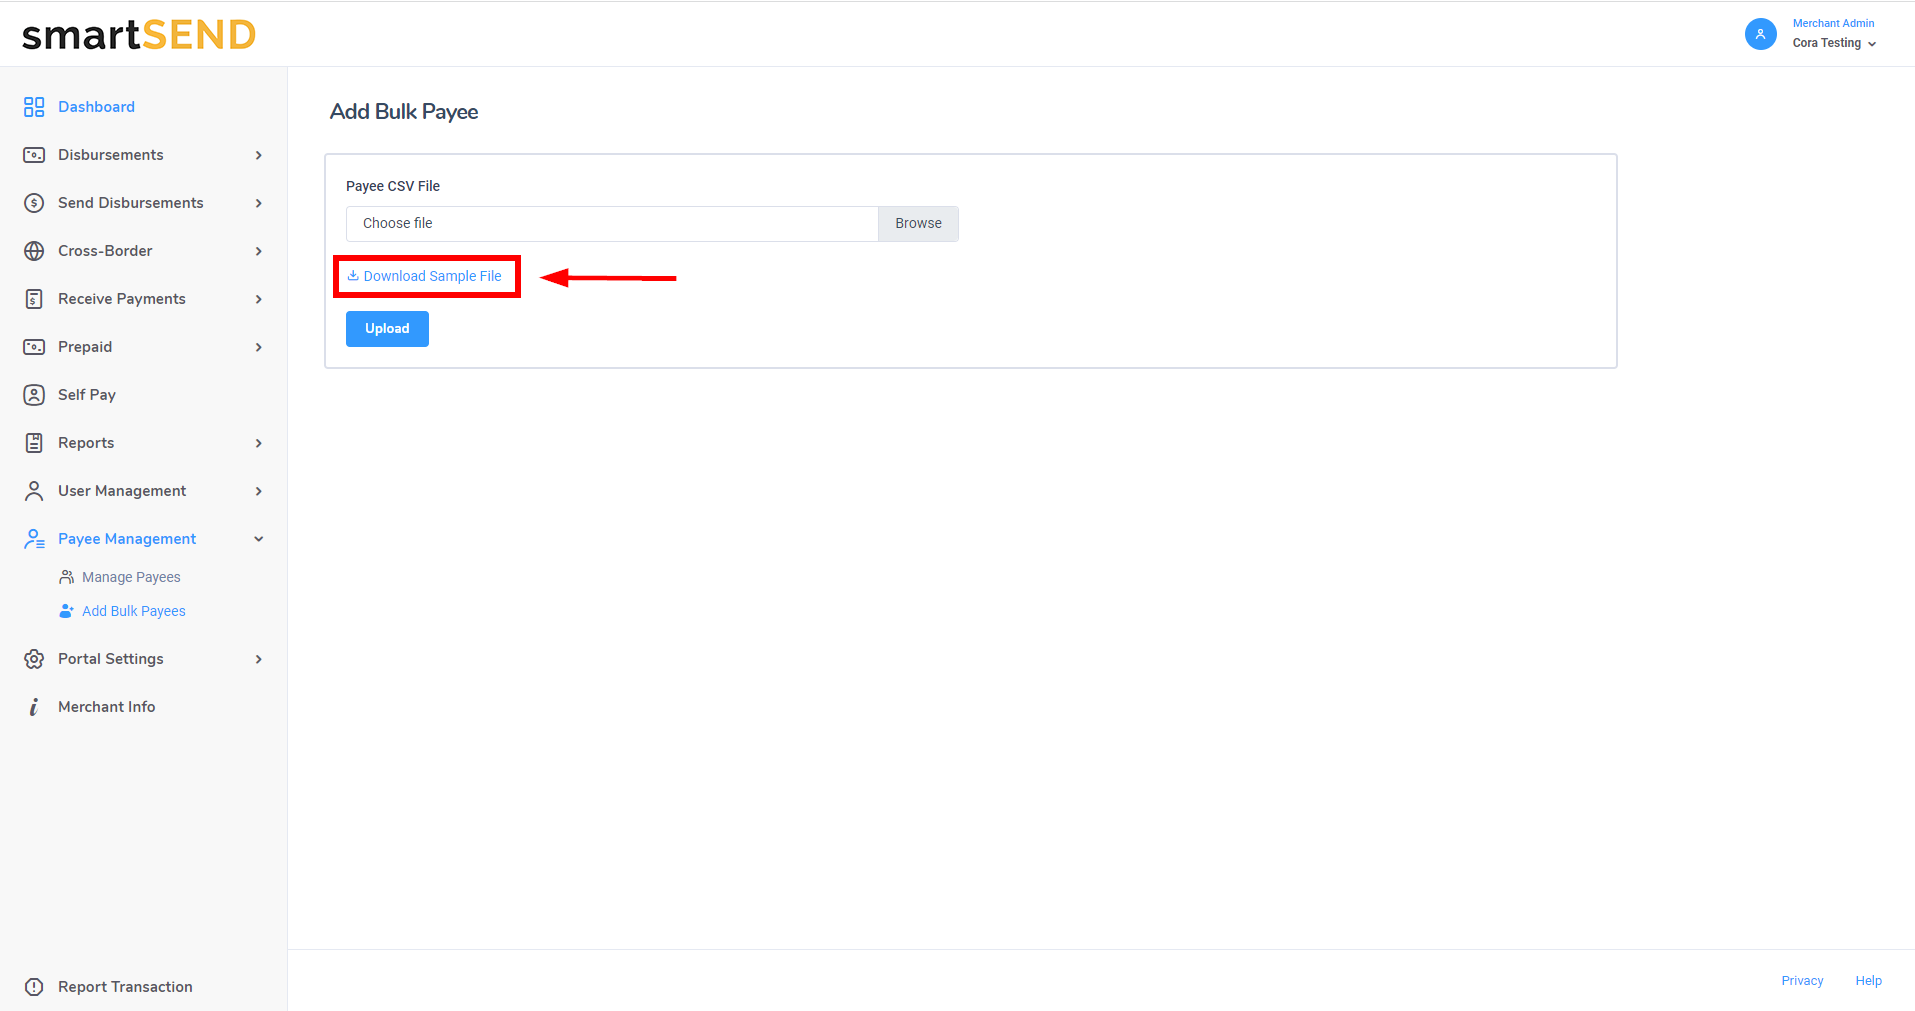
Click on the Browse button to find the CSV file that has been populated with payee data.
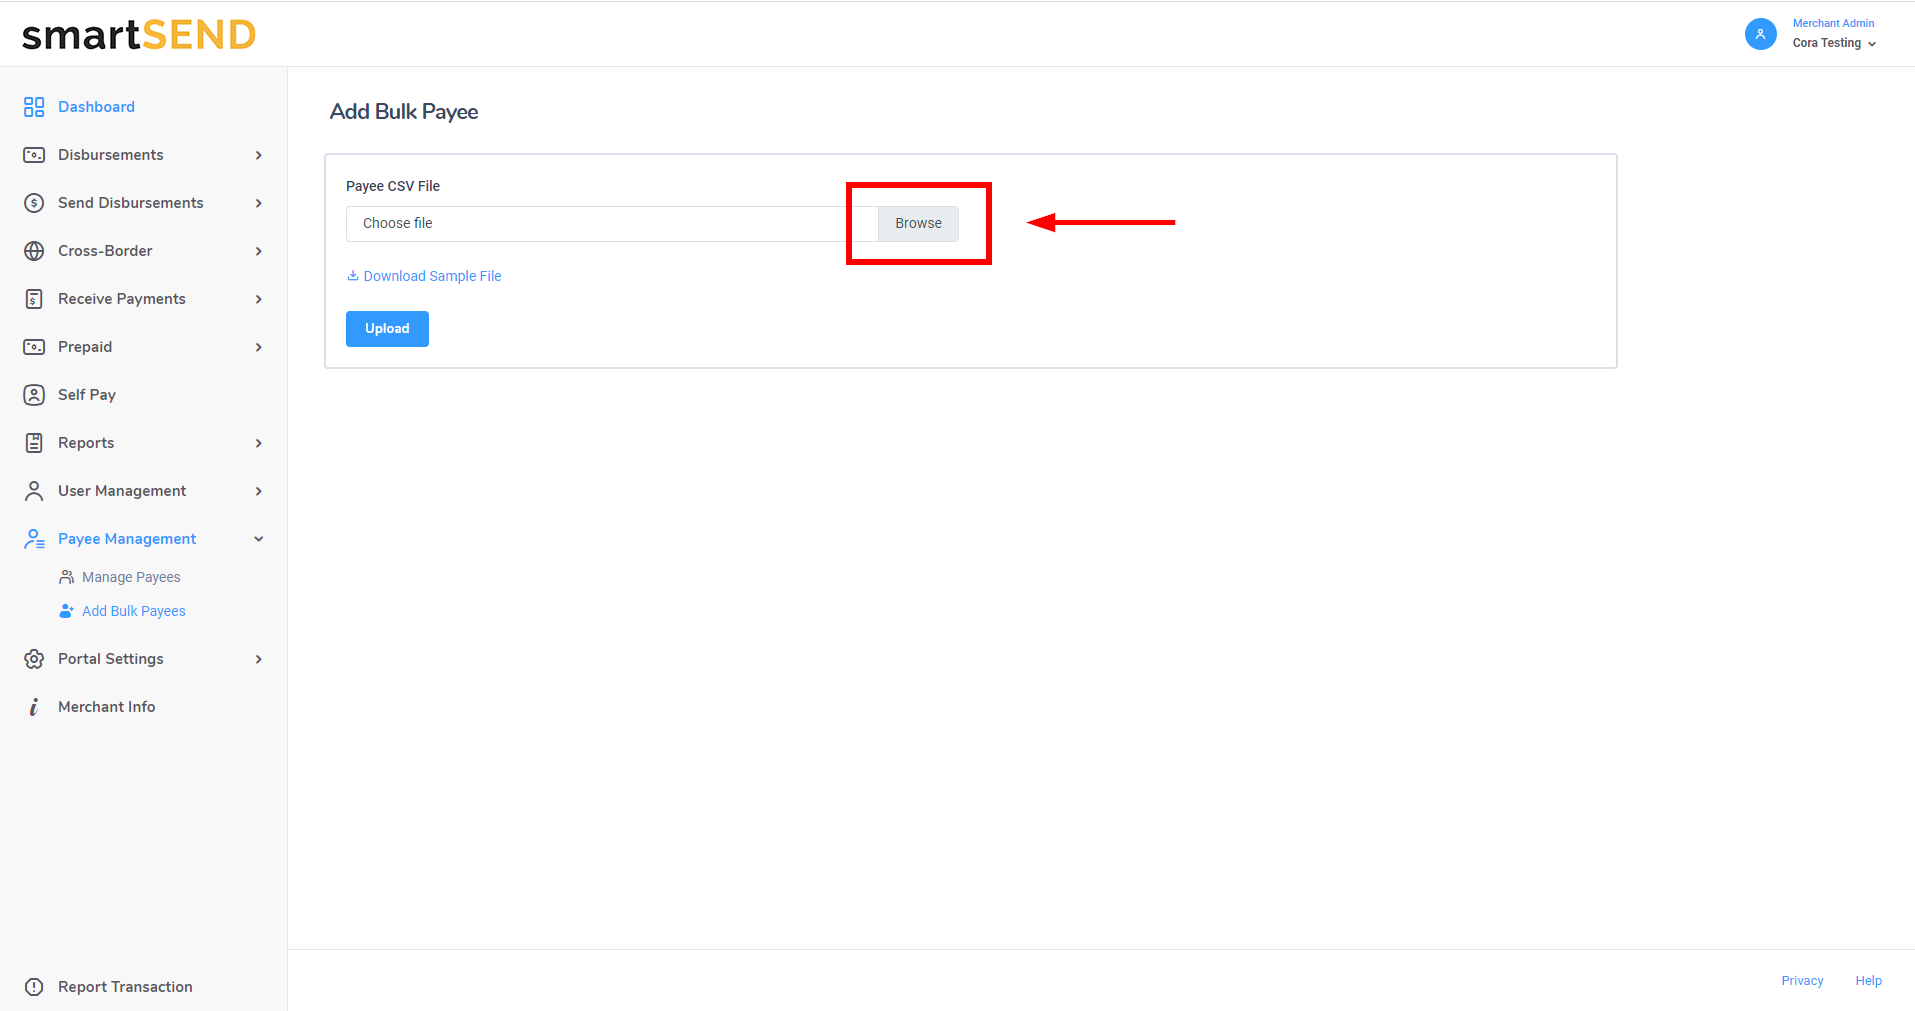
Once a file has been selected, click on the Upload button to save payees.